There is something undeniably magnetic about a dessert that arrives at the table glowing with a deep crimson hue. Max calls these Red Velvet Brownies his "Santa Squares" because the bright red base and snowy white frosting look exactly like the holidays on a plate. They are incredibly fudgy, dense, and rich; bringing all the classic cocoa and buttermilk tang of a red velvet cake but with the chewiness of a perfect brownie.

Jump to:
- Why You Will Love This Red Velvet Brownies
- How To Make Red Velvet Brownies
- What Pairs Well With Red Velvet Brownies
- Red Velvet Brownies Variations
- Equipment
- Storage / Make Ahead / Serving Tips
- Top Tips for Best Red Velvet Brownies
- Red Velvet Brownies Frequently Asked Questions
- A Festive Treat for Any Occasion
- Related
- Red Velvet Brownies
Why You Will Love This Red Velvet Brownies
This recipe takes the best parts of two dessert worlds and smashes them together. You get the dense, chewy texture of a fudge brownie combined with the mild chocolate and vanilla flavor profile of red velvet. The tangy cream cheese frosting on top cuts through the sweetness perfectly, making every bite balanced and addictive.
How To Make Red Velvet Brownies
We start by creating a dense batter using melted butter and cocoa powder, adding a generous amount of red food coloring to achieve that signature color. The batter is baked just until set to ensure a fudgy interior rather than a cakey one. Once cooled, we slather a thick layer of homemade cream cheese frosting over the top and sprinkle it with reserved brownie crumbs for a professional bakery look.
Red Velvet Brownies Ingredients
The Brownie Base
- ½ cup unsalted butter (melted)
- 1 cup granulated sugar
- 2 large eggs (room temperature)
- 1 teaspoon vanilla extract
- 1 tablespoon red food coloring (liquid or gel)
- 1 teaspoon white vinegar (for that classic tang)
- ¼ cup unsweetened cocoa powder
- ¾ cup all-purpose flour
- ¼ teaspoon salt
The Cream Cheese Frosting
- 8 oz cream cheese (softened block style)
- 4 tablespoons unsalted butter (softened)
- 2 cups powdered sugar
- 1 teaspoon vanilla extract

Step by Step Method
Mix the Wet Ingredients
- Preheat your oven to 350°F (175°C) and line an 8x8 inch baking pan with parchment paper.
- Whisk the melted butter and granulated sugar in a large bowl until well combined and slightly cooled.
- Beat in the eggs, vanilla, red food coloring, and vinegar until the mixture is glossy and vibrant red.
Add Dry Ingredients
- Sift the flour, cocoa powder, and salt directly into the wet mixture.
- Fold gently with a rubber spatula just until no streaks of flour remain; do not overmix or the brownies will become tough.
Bake
- Pour the batter into the prepared pan and smooth the top.
- Bake for 25–30 minutes until a toothpick inserted in the center comes out with moist crumbs (not wet batter).
- Let the brownies cool completely in the pan; this is crucial as they set while cooling.
Frost and Serve
- Beat the softened cream cheese and butter together until smooth.
- Gradually add powdered sugar and vanilla; whipping until fluffy.
- Spread evenly over the cooled brownies; garnish with red velvet crumbs if desired.
Max’s Reaction: "The frosting tastes like cheesecake and the bottom tastes like chocolate. I like how my tongue turns a little bit red when I eat it!"

What Pairs Well With Red Velvet Brownies
These rich squares demand a cold glass of milk to balance the heavy chocolate and cream cheese flavors. For an adult twist, a hot cup of dark roast coffee or a shot of espresso pairs beautifully with the sweetness. Fresh raspberries or strawberries on the side also add a nice tart freshness that cuts through the sugar.
Red Velvet Brownies Variations
White Chocolate Chip
- Fold ½ cup of white chocolate chips into the red batter before baking for added texture and milky sweetness inside the brownie itself.
Cheesecake Swirl
- Instead of frosting the top, beat 4 oz cream cheese with 1 egg and sugar, dollop it over the raw brownie batter, and swirl with a knife before baking for a marbled effect.
Box Mix Hack
- Use a standard box of fudge brownie mix but swap the water for buttermilk and add 2 tablespoons of red food coloring to mimic the homemade flavor in a pinch.
Gluten Free Option
- Swap the all-purpose flour for a 1:1 gluten-free baking flour blend; the texture remains surprisingly similar because of the moisture from the butter and eggs.
Equipment
- 8x8 inch Baking Pan
- Electric Hand Mixer (for frosting)
- Parchment Paper
- Rubber Spatula
Storage / Make Ahead / Serving Tips
Storage Tips That Keep It Fresh
Because of the cream cheese frosting, these brownies must be stored in the refrigerator. Keep them in an airtight container for up to 5 days. They actually taste even fudgier when chilled.
Make Ahead Strategy
You can bake the brownie base a day in advance and wrap it tightly in plastic wrap at room temperature. Make the frosting and assemble just before serving to keep the layers distinct.
Freezing Instructions
These freeze beautifully. Slice the frosted brownies and place them on a baking sheet to freeze solid, then wrap individual squares in plastic wrap and foil. Thaw in the fridge overnight before eating.
Top Tips for Best Red Velvet Brownies
The secret to that perfect "red velvet" texture is the addition of white vinegar. It might seem odd in a dessert, but the acid reacts with the cocoa powder and eggs to create a tender crumb while helping to brighten the red color. Also, use gel food coloring if you can find it; it is much more concentrated than the liquid drops, so you get a vibrant ruby color without adding too much extra liquid to the batter. Finally, be patient and let the brownies cool completely before frosting. If the base is even slightly warm, the cream cheese layer will melt and slide right off.
Red Velvet Brownies Frequently Asked Questions
Why are my brownies cakey?
Cakey brownies usually happen if you overmix the batter after adding the flour or if you add too much baking powder (this recipe uses none for that reason).
Can I skip the food coloring?
Yes; they will just be delicious cocoa brownies without the red hue. The flavor will remain exactly the same.
How do I get clean slices?
Chill the frosted brownies in the fridge for 30 minutes before cutting. Use a sharp knife and wipe it clean with a warm cloth between every single cut.
A Festive Treat for Any Occasion
These brownies have become our go-to for everything from Valentine’s Day to Christmas because they feel special without requiring hours of decorating. They bring a pop of color and joy to the kitchen counter. If you love decadent desserts like this, you have to try our Pecan Pie Dump Cake for another rich comfort food, or the classic Red Velvet Cake if you want the traditional layered version. For something with a cinnamon twist, the Snickerdoodle Cheesecake is another crowd favorite.
Share your Red Velvet Brownies! Tag us @HannahCooking with #RedVelvetBrownies; we’re dying to see your version and hear about your homemade kitchen stories!
⭐️ Rate this Red Velvet Brownies recipe and let us know what twists or ingredients you used!
Related
Looking for other recipes like Red Velvet Brownies? Try these:
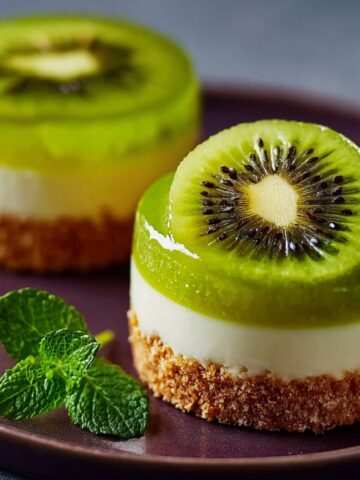
- Joghurt Limetten Mousse3 Hours 20 Minutes
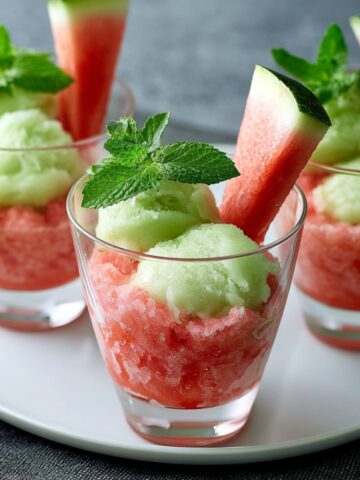
- Ice Cream with Salted Watermelon Granita3 Hours 10 Minutes
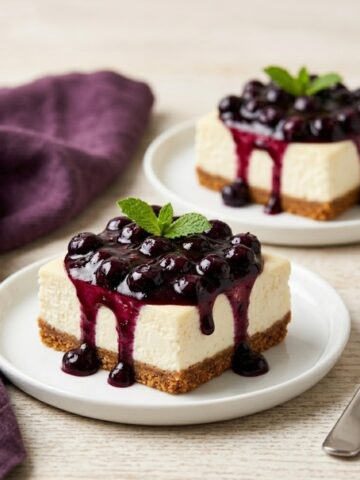
- No-Bake Cheesecake Bars with Fresh Blueberry Sauce4 Hours 23 Minutes
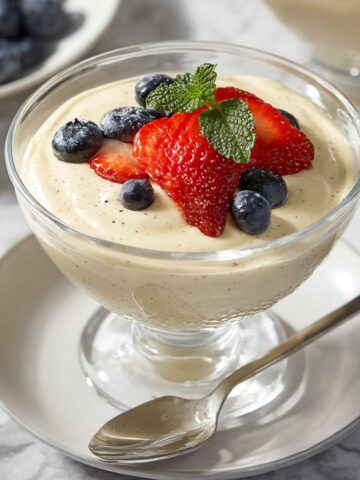
- Vanilla Mousse Cups2 Hours 15 Minutes

Red Velvet Brownies
Ingredients
Equipment
Method
- Whisk melted butter and sugar; beat in eggs, vanilla, food coloring, and vinegar.
- Fold in flour, cocoa powder, and salt until just combined.
- Bake in lined 8x8 pan at 350°F for 25-30 minutes; cool completely.
- Beat cream cheese, butter, powdered sugar, and vanilla until fluffy.
- Spread frosting over cooled brownies and slice into squares.

Leave a Reply