
My Italian grandmother spent hours making traditional cannoli for every family gathering, and I loved them but always felt guilty watching her fry shells at age seventy-eight. These ricotta cannoli squares give you all that classic cannoli flavor she worked so hard for, but you just layer everything in a pan and refrigerate. She tried them last Christmas, took three bites, and said "Smart girl. Why didn't I think of this forty years ago?"
What is Ricotta Cannoli Squares
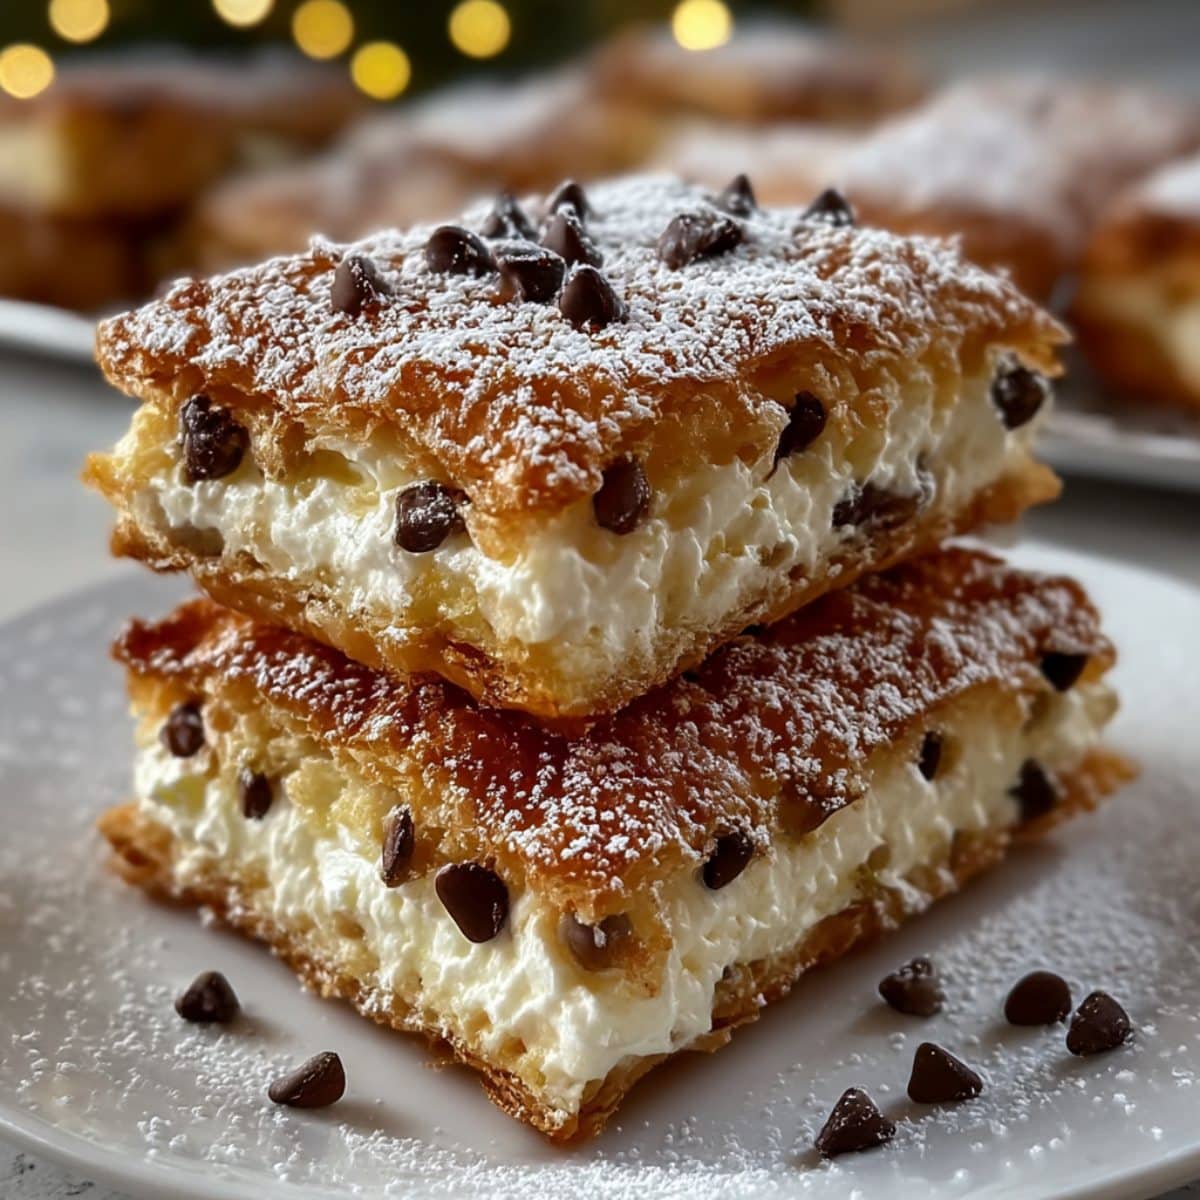
Ricotta cannoli squares are a no fry, no roll dessert that transforms traditional Italian cannoli into easy layered bars featuring sweet ricotta filling studded with mini chocolate chips between crispy graham cracker or pastry layers. Unlike traditional cannoli that require making or buying shells, deep frying, and carefully piping filling, these squares let you build all those iconic flavors in a pan. The result is a stunning layered dessert that tastes exactly like cannoli but feeds a crowd with zero stress.
How To Make Ricotta Cannoli Squares
Our ricotta cannoli squares use full fat ricotta mixed with cream cheese and mascarpone for the most authentic, creamy filling that's not too sweet or too heavy. The secret is draining the ricotta really well and chilling the assembled dessert long enough for the graham crackers to soften into that perfect tender layer. After making these about forty times for various family events, I've figured out exactly how much cream and sweetness makes them taste like the real deal.
Ricotta Cannoli Squares Ingredients
For the Filling:
- 32 oz whole milk ricotta cheese, well drained
- 8 oz cream cheese, softened
- 8 oz mascarpone cheese
- 1 ½ cups powdered sugar
- 2 teaspoons vanilla extract
- 1 teaspoon almond extract
- Pinch of salt
- 1 cup mini chocolate chips
- ½ cup chopped pistachios (optional)
For the Layers:
- 2 boxes (14.4 oz each) graham crackers
- ¼ cup melted butter for brushing
For Topping:
- Powdered sugar for dusting
- Extra mini chocolate chips
- Chopped pistachios
- Candied orange peel (optional)

Step by Step Method
Drain and Prepare Ricotta Properly
- Place ricotta in fine mesh strainer over bowl
- Let drain in refrigerator at least 2 hours or overnight
- Press gently to remove excess liquid without mashing
- Well drained ricotta prevents soggy layers
Whip Up Creamy Cannoli Filling
- Beat cream cheese and mascarpone until smooth and fluffy
- Add drained ricotta and mix until well combined
- Blend in powdered sugar, vanilla, almond extract, and salt
- Fold in mini chocolate chips and pistachios gently
Layer Your Cannoli Masterpiece
- Brush bottom of 9x13 inch pan with melted butter lightly
- Arrange single layer of graham crackers to cover bottom completely
- Spread half the ricotta filling evenly over graham layer
- Add another graham cracker layer, then remaining filling
Create the Beautiful Finish
- Top with final layer of graham crackers pressed gently
- Cover tightly with plastic wrap touching surface
- Refrigerate at least 8 hours or overnight for best texture
- Dust generously with powdered sugar before serving
What Pairs Well With Ricotta Cannoli Squares?
These rich ricotta cannoli squares pair beautifully with strong espresso, cappuccino, or sweet dessert wine like Moscato for authentic Italian dessert service. We love serving them at holiday gatherings alongside biscotti, tiramisu, or Italian cookies for complete dessert spreads. For dinner parties, try them after pasta dinners, pizza nights, or Italian feasts. The creamy, not too sweet filling works perfectly as the grand finale to any meal.
Ricotta Cannoli Squares Variations
Chocolate Lover's Cannoli Bars
- Replace half the graham crackers with chocolate graham crackers
- Add 2 tablespoons cocoa powder to ricotta filling
- Use both mini chocolate chips and dark chocolate shavings
- Drizzle with melted chocolate before serving
Lemon Ricotta Cannoli Squares
- Add 2 tablespoons lemon zest to ricotta filling
- Replace almond extract with lemon extract
- Top with candied lemon peel instead of pistachios
- Bright, fresh twist on classic flavor
Pumpkin Spice Cannoli Bars
- Mix ½ cup pumpkin puree into ricotta filling
- Add 1 teaspoon pumpkin pie spice blend
- Use gingersnaps instead of graham crackers
- Perfect fall variation for Thanksgiving
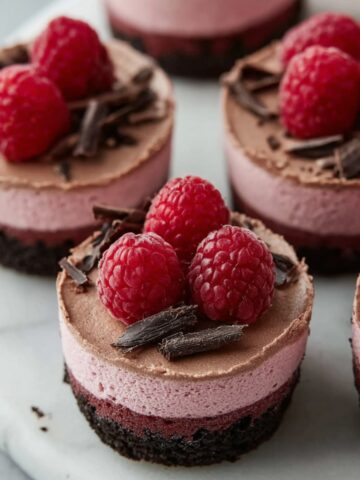
Strawberry Cannoli Squares
- Layer fresh sliced strawberries between filling layers
- Add strawberry jam drizzle over graham crackers
- Top with fresh strawberries and white chocolate chips
- Summer berry twist on Italian classic
Equipment
- 9x13 inch baking dish or pan
- Fine mesh strainer for draining ricotta
- Electric mixer for smooth creamy filling
- Offset spatula for spreading layers evenly
- Plastic wrap for covering tightly
- Sifter for dusting powdered sugar
Storage Tips That Keep It Fresh
Best Fresh
- Serve within 24 hours of assembly for crispest graham layers
- The filling stays freshest in first two days
- Graham crackers have perfect tender crisp texture when fresh
- Keep refrigerated until ready to serve
Make Ahead Strategy
- Drain ricotta up to 2 days before assembling
- Mix filling and refrigerate separately for 24 hours
- Assemble complete dessert 8 to 24 hours before serving
- Best when chilled overnight for optimal texture
Reheating Instructions
- Never heat this dessert as it's meant to be served cold
- Remove from refrigerator 10 minutes before serving
- Cut with sharp knife wiped clean between slices
- Dust with fresh powdered sugar just before serving
Top Tips for Easy Ricotta Cannoli Squares
The single most important step everyone skips is draining the ricotta overnight. I learned this the hard way when I made these for my cousin's graduation party using ricotta straight from the container. By the time we served dessert, the graham crackers had turned into soggy mush floating in ricotta soup. My aunt Rosa (who made cannoli at her bakery in Brooklyn for thirty years) pulled me aside and said "You gotta drain it, bella. Overnight minimum." She was absolutely right. Well drained ricotta is the difference between cannoli squares people beg for and a watery mess. Set that strainer over a bowl, stick it in the fridge, and forget about it for twelve hours.
Frequently Asked Questions
Do I need to drain the ricotta cheese?
Yes, absolutely! Draining removes excess moisture that would make the graham crackers soggy. Drain ricotta in a strainer for at least 2 hours, preferably overnight.
What kind of ricotta cheese should I use?
Use whole milk ricotta for the richest, creamiest filling. Part skim works but won't be as authentic tasting. Avoid pre-drained or pressed ricotta as it's too dry.
When should I assemble the cannoli squares?
Assemble at least 8 hours before serving, preferably the night before. The graham crackers need time to soften into tender layers while staying slightly crisp.
Can I make the filling ahead of time
Yes! Make the filling up to 24 hours ahead and store covered in the refrigerator. Stir gently before assembling to redistribute any separated liquid.
Italian Simplicity Made Perfect
Forty family gatherings later, these ricotta cannoli squares have officially replaced my grandmother's fried shells at every event. Sometimes the smartest recipes are the ones that honor tradition while making life easier.
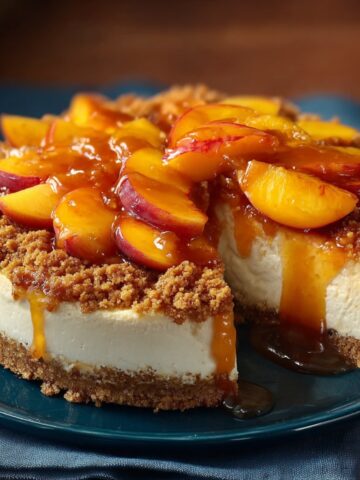
Ready for more layered desserts? Our Neiman Marcus Cake brings chocolate and caramel to easy bar form, while Salted Caramel Apple Bars offer fall flavors in portable squares. For more Italian inspiration, try our Caramel Apple Eclair Cake that uses similar no bake layering techniques.
Share your ricotta cannoli squares creations and tag us @HannahAndSproutKitchen with #RicottaCannoliSquares! Nothing makes my day like seeing everyone's beautiful powdered sugar topped desserts.
Star ⭐️ Rate this ricotta cannoli squares recipe and tell us your favorite cannoli memory!
Related
Looking for other recipes like ricotta cannoli squares? Try these:


Ricotta Cannoli Squares
Ingredients
Equipment
Method
- Place ricotta in strainer and refrigerate overnight.
- Mix ricotta, mascarpone, and cream cheese until smooth.
- Blend in powdered sugar, vanilla, almond extract, and salt.
- Gently mix in chocolate chips and pistachios.
- Brush bottom of pan lightly with melted butter.
- Arrange graham crackers evenly to cover the bottom.
- Spread half of ricotta mixture evenly over graham layer.
- Add another graham layer and remaining filling.
- Finish with final graham cracker layer; press gently.
- Cover with plastic wrap and refrigerate 8 hours or overnight.
- Dust with powdered sugar and garnish before slicing.


Leave a Reply