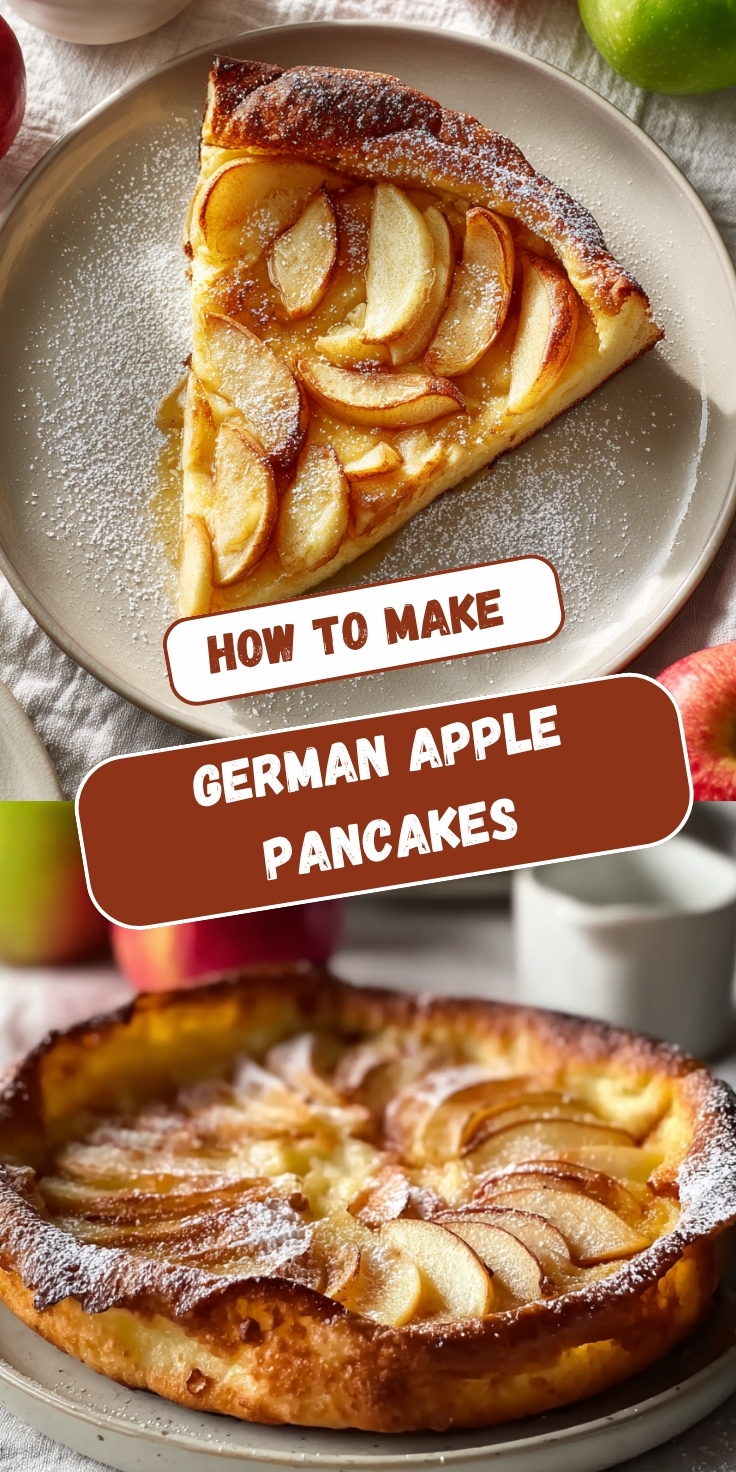
"Mom, it's puffing up," Max whispered from the oven window like he was watching something alive. He was not wrong. German Apple Pancakes baked in a cast iron skillet do something dramatic in the oven, rising at the edges and settling into a golden, caramelized shell around the cinnamon apple slices inside. The first time I made this, we both stood in front of the oven door and forgot to set the timer.
Jump to:
Why This Recipe Is Special
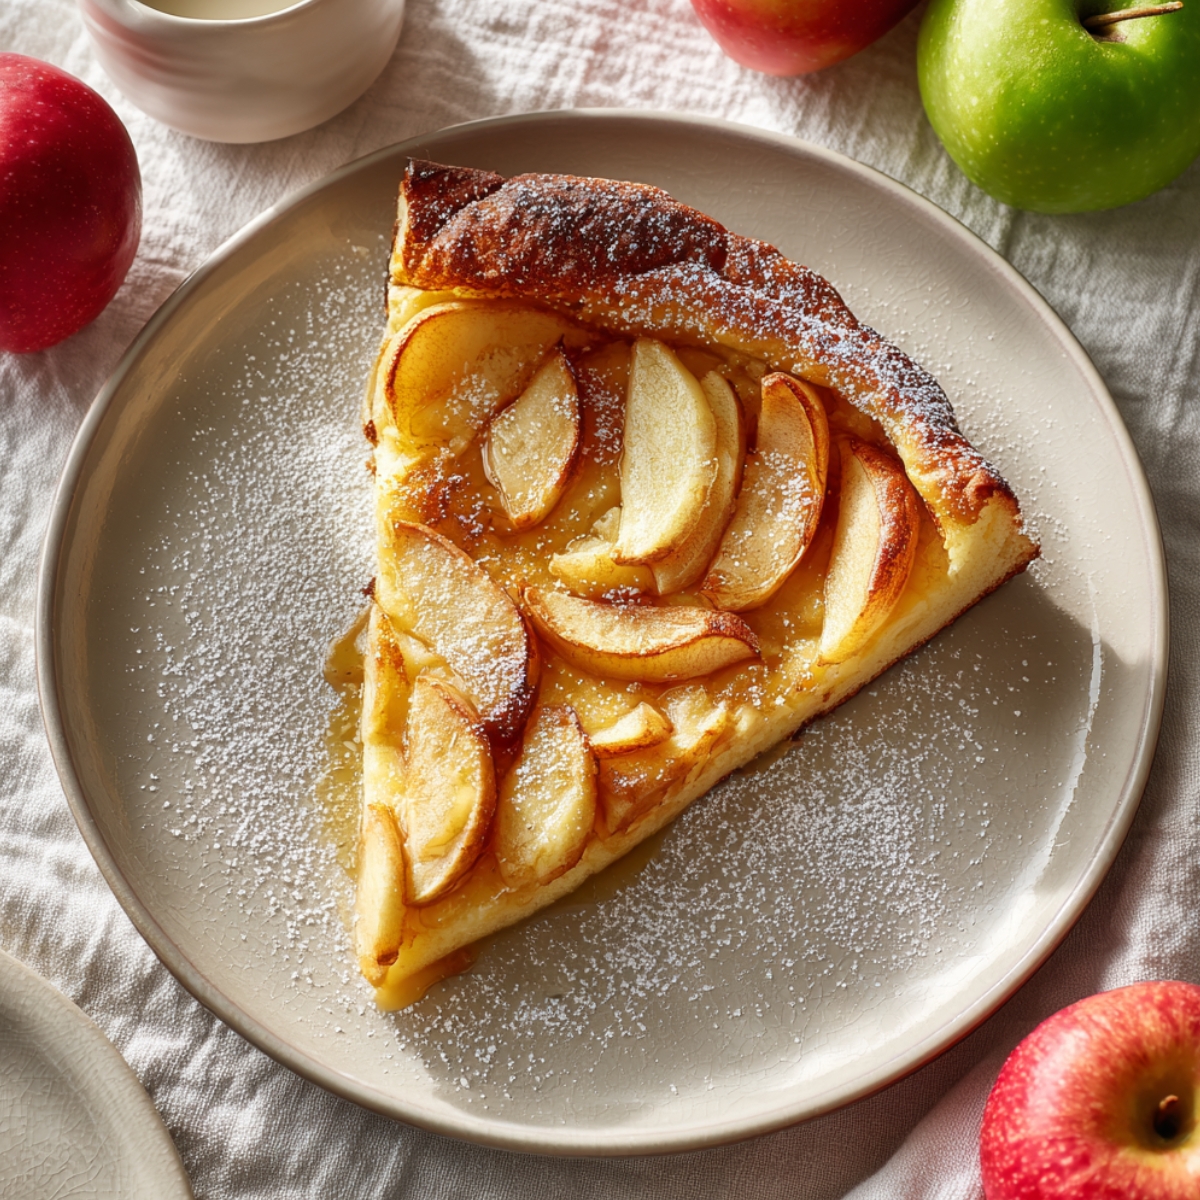
This pancake is the kind of breakfast that feels like you made something real. It starts on the stovetop, finishes in the oven, and comes out looking like the image every single time once you understand the technique. The edges puff and brown, the apple slices bake into a caramelized layer across the top, and the powdered sugar dusted over everything at the end makes it look like it came from a proper German bakery.
Max calls it the "fancy pancake that is actually easy" and he is absolutely right. It takes one pan and one bowl and produces something that looks like you spent considerably more effort than you actually did.
How To Make German Apple Pancakes
My first attempt used a regular non-stick pan and the edges never developed the puffed, browned walls visible in the image. The pancake came out flat and slightly pale, and Max said it looked like a frittata that had an identity crisis. He meant it kindly.
Once I switched to an oven-safe cast iron skillet and preheated it with the butter inside the oven before adding the batter, the edges climbed the sides of the pan and developed that deep golden color immediately. A hot pan is the single most important detail in this entire recipe.
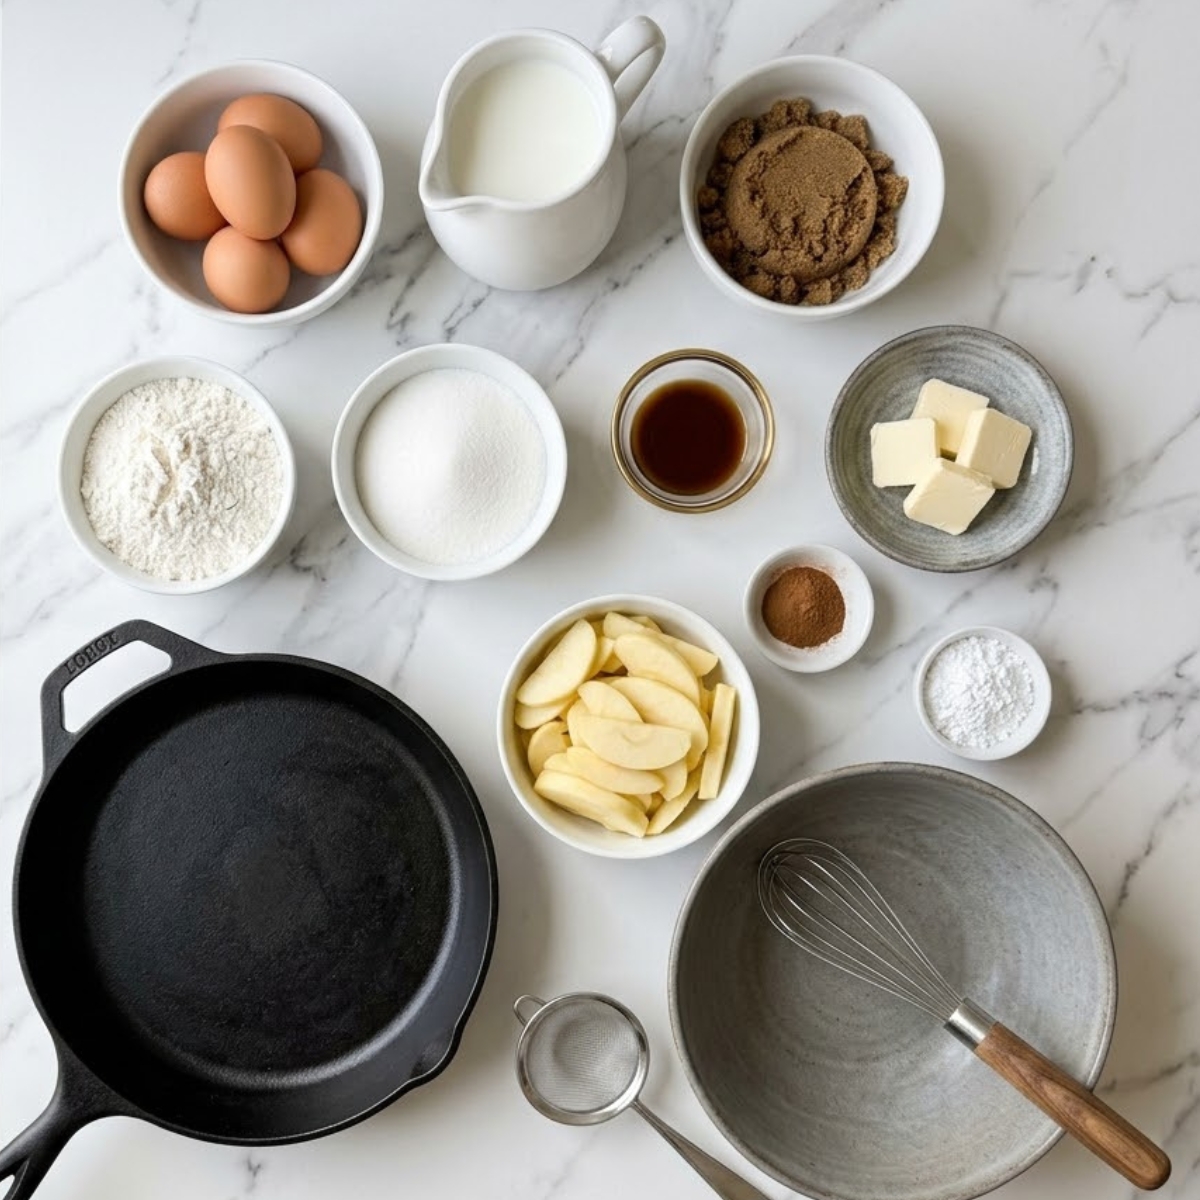
Main Ingredients
- 3 large eggs — the structural backbone of the batter; the egg-to-flour ratio is much higher than a standard pancake, which is what allows the edges to climb and puff in the oven
- ¾ cup whole milk — keeps the batter loose and pourable so it spreads across the hot pan bottom and climbs the sides before the edges set
- ½ cup all-purpose flour — provides just enough structure for the pancake to hold its shape without becoming dense or cakey
- 1 tablespoon granulated sugar — lightly sweetens the batter base
- ½ teaspoon vanilla extract — adds warmth to the batter that pairs naturally with the cinnamon apples
- Pinch of salt — balances the sweetness and sharpens the apple flavor
- 2 tablespoon unsalted butter — placed in the skillet and heated in the oven before the batter is added so the pan is hot and coated when the batter hits the surface
- 2 medium apples, peeled and sliced thin — the caramelized apple slices that sit across the top of the finished pancake the way they appear in the image; use a firm variety like Granny Smith, Honeycrisp, or Braeburn
- 2 tablespoon unsalted butter — used in the skillet to cook the apple slices before the batter is added
- 3 tablespoon brown sugar — caramelizes with the butter around the apple slices and creates the golden, sticky coating visible on each apple piece in the image
- 1 teaspoon cinnamon — the defining spice of the apple layer that gives the whole pancake its characteristic warm aroma
- Powdered sugar for dusting — the generous white dusting visible across the entire pancake and plate in the image, added just before serving
Step-by-Step Instructions
Step 1 — Make the Batter and Prep the Oven
- Preheat the oven to 425°F and place a 10-inch oven-safe cast iron skillet or heavy oven-safe pan inside the oven while it preheats so the pan is fully hot before the batter goes in
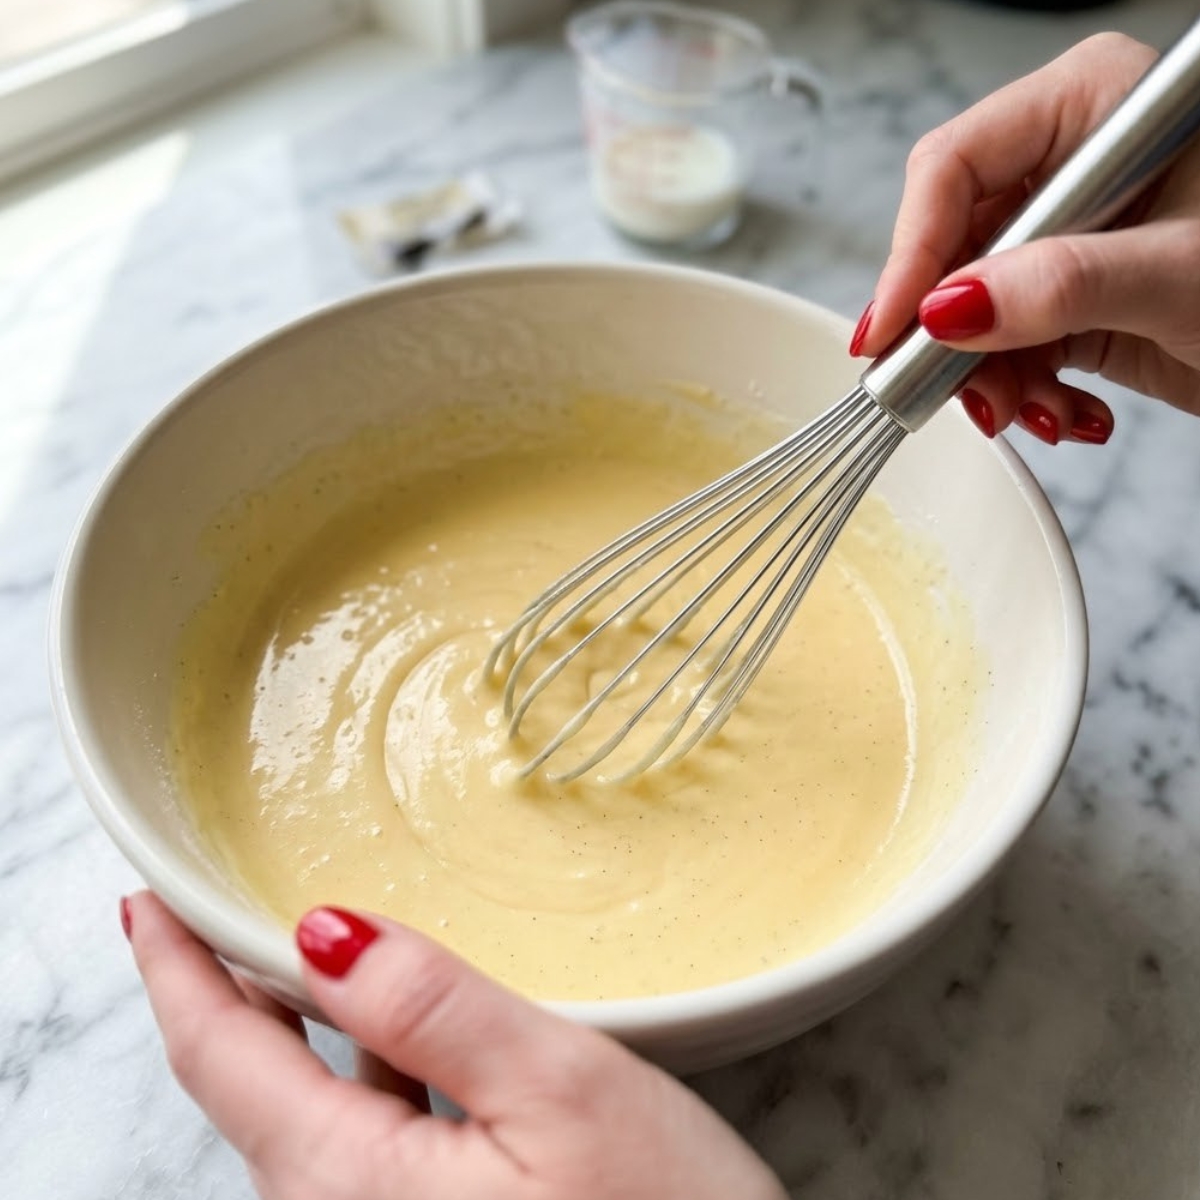
- Whisk the eggs, whole milk, flour, granulated sugar, vanilla extract, and salt together in a medium bowl until the batter is completely smooth and no dry streaks or lumps remain
- Let the batter rest for 5 minutes while the oven finishes preheating so the flour has time to fully hydrate, which produces a slightly smoother, more even texture in the finished pancake
- Check the batter once more before using and give it a final brief whisk if the flour has settled to the bottom during resting
Step 2 — Cook the Cinnamon Apple Layer
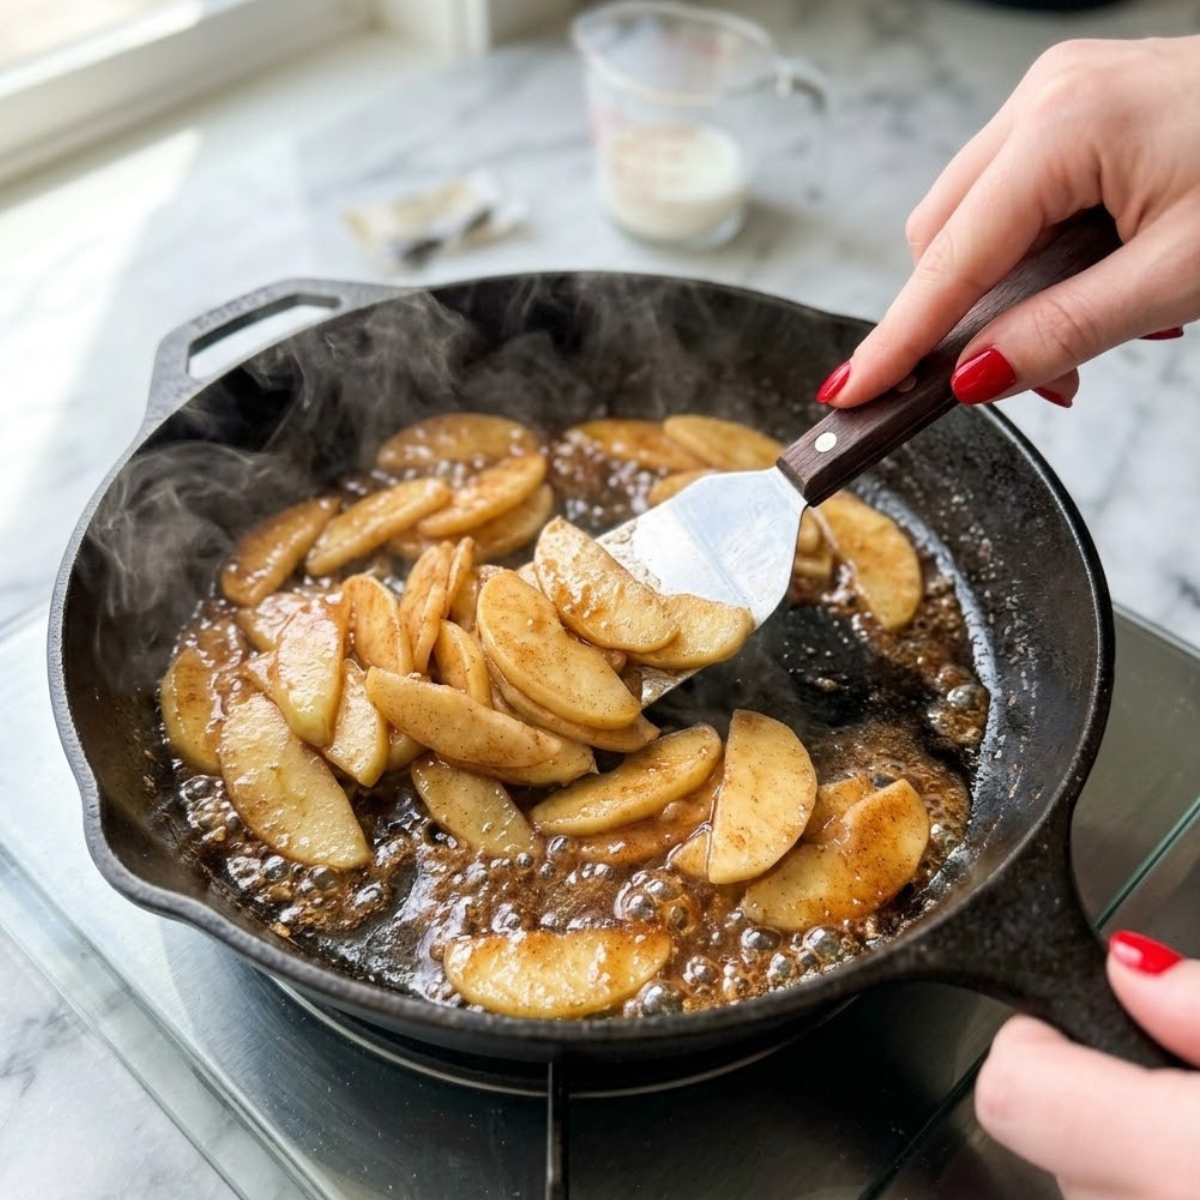
- Remove the hot skillet from the oven carefully using oven mitts and place it on the stovetop over medium heat, then add 2 tablespoons of butter and swirl to coat the entire surface including the sides of the pan
- Add the peeled and thinly sliced apples to the buttered skillet and spread them into an even layer so every slice has contact with the pan surface
- Sprinkle the brown sugar and cinnamon evenly over the apple slices and cook for 3 to 4 minutes, turning the slices once, until the apples are softened at the edges and the brown sugar has caramelized into a sticky glaze around each piece
- Spread the caramelized apple slices evenly across the base of the skillet so they are distributed in a single layer that will be visible through the batter and on top of the finished pancake
Step 3 — Add the Batter and Bake
- Pour the rested batter slowly and evenly over the caramelized apple layer in the skillet so it covers the apples completely and reaches to the edges of the pan in a uniform thickness
- Transfer the skillet immediately to the preheated oven and bake for 18 to 22 minutes without opening the oven door during the first 15 minutes so the edges have an uninterrupted opportunity to puff and climb the sides of the pan
- Watch through the oven window during the last few minutes for the edges to turn a deep golden brown and the center to appear set and firm rather than wet or jiggly when the pan is gently moved
- Remove the skillet from the oven and check that the outer edges have developed the tall, browned walls and the apple layer on top is caramelized and golden the way it appears in the image
Step 4 — Rest, Invert, and Finish
- Let the finished pancake rest in the skillet for 2 to 3 minutes after coming out of the oven so the structure sets and the caramelized apple layer firms up slightly before it is unmolded
- Run a thin spatula or butter knife carefully around the inside edge of the skillet to loosen the pancake, then place a large serving plate face down over the skillet and invert both together in one confident motion so the apple side faces up on the plate
- Check that the apple slices have transferred cleanly to the top of the pancake with their caramelized surface visible, which is the presentation shown in the image
- Dust generously with powdered sugar through a fine sifter so it covers the apple slices, the caramelized edges, and the rim of the plate the way it appears in the image, then serve immediately while still warm
German Apple Pancakes Variations
Original Pancake House German Apple Pancake Style
- Increase the butter in the apple layer to 3 tablespoons and the brown sugar to 4 tablespoons for a richer, more deeply caramelized glaze that produces the signature sticky, almost toffee-like apple coating associated with the restaurant version
- Add ¼ teaspoon of nutmeg alongside the cinnamon to the apple layer for the warm, slightly spiced complexity that distinguishes the classic recipe from a plainer version
- Serve with a small pitcher of warm maple syrup on the side rather than relying only on the powdered sugar dusting so guests can add as much or as little as they prefer
- Max tried this version and announced that it was "not really a pancake anymore" in a tone that made clear he considered that a compliment
German Apple Pancake vs Dutch Baby Style
- For a Dutch baby style, skip the stovetop apple cooking step and instead arrange raw thinly sliced apples directly across the base of the buttered hot skillet before pouring the batter over them
- The raw apples steam and soften inside the batter as the pancake bakes and produce a lighter, less caramelized apple layer with a more delicate texture throughout
- The batter for a Dutch baby style benefits from blending rather than whisking for a fully smooth, slightly airier texture that allows for more dramatic edge puffing
- Both versions use the same ingredients in the same quantities; the difference is entirely in whether the apples are cooked before the batter is added
Thin German Apple Pancakes
- Reduce the flour to ⅓ cup and increase the milk to 1 full cup for a thinner, more crepe-like batter that produces a flatter pancake with less puffing at the edges
- Cook individual smaller portions in a 6-inch skillet rather than one large pancake for a presentation closer to a traditional thin German Pfannkuchen
- Fold each thin pancake over the caramelized apple filling rather than inverting and dust with powdered sugar after folding for a different but equally authentic presentation
- This version cooks faster at about 12 to 14 minutes and produces a more delicate, slightly lacy edge around each individual pancake
Substitutions
All-purpose flour substitute: A one-to-one gluten-free flour blend replaces all-purpose flour in equal amounts with no change to the technique. The texture is very slightly denser but the pancake still puffs at the edges and the apple layer behaves identically.
Whole milk substitute: Full-fat oat milk or almond milk works as a dairy-free alternative and produces a batter with nearly the same consistency and puffing behavior as whole milk. Avoid low-fat milk substitutes since the reduced fat content makes the batter thinner and the edges less likely to develop the tall, browned walls.
Granny Smith apple substitute: Honeycrisp, Braeburn, or Pink Lady apples all hold their shape during both the stovetop caramelizing step and the oven bake without turning to mush. Avoid very soft apple varieties like McIntosh or Cortland since they break down completely during cooking and the individual slices visible in the image cannot be achieved.
Brown sugar substitute: Coconut sugar replaces brown sugar in equal amounts and produces a slightly deeper, more molasses-like caramel flavor around the apple slices. Maple sugar also works well and adds a complementary flavor that pairs naturally with both the apple and cinnamon layers.
Equipment
- 10-inch oven-safe cast iron skillet or heavy oven-safe skillet
- Medium mixing bowl
- Whisk
- Oven mitts
- Wide spatula or butter knife for loosening
- Large serving plate for inverting
- Fine sifter for the powdered sugar
- Peeler and sharp knife for the apples
- Cutting board
Storage Tips
Make Ahead Strategy
- Prepare the batter up to 12 hours ahead and store it covered in the refrigerator; bring it to room temperature for 15 minutes and whisk briefly before using since the flour may settle during refrigeration
- Peel and slice the apples up to 4 hours ahead and store them in a bowl with a squeeze of lemon juice to prevent browning, then drain before adding to the buttered skillet
- The caramelized apple layer can also be cooked ahead on the stovetop and kept warm in the skillet before the batter is added so the morning assembly is faster
Refrigeration
- Store leftover pancake slices in an airtight container in the refrigerator for up to 2 days, though the texture is significantly better on the day it is made
- Reheat individual slices in a 350°F oven for 8 to 10 minutes rather than the microwave so the edges firm back up slightly and the caramelized apple layer warms through without becoming rubbery
- The powdered sugar absorbs into the surface during storage; re-dust with fresh powdered sugar just before reheating and serving for the presentation shown in the image
Freezing
- This pancake does not freeze well since the egg-heavy batter becomes dense and slightly rubbery after thawing and the caramelized apple layer loses its texture completely during the freeze-thaw cycle
- Make it fresh each time since the active preparation takes under 15 minutes once you understand the technique and the result is always worth it
- The apple and cinnamon filling cooked separately can be frozen and reheated as a topping for other pancakes, oatmeal, or yogurt if you have leftover caramelized apple from a previous batch
Family Secret Worth Sharing
My grandmother made a version of this pancake that she never called anything other than "the oven pancake," and the only instruction she ever gave for it was to heat the pan until the butter turned brown before the batter went in. I thought for years that she was describing a color preference rather than a technique. The day I finally let the butter go all the way to golden brown in the hot pan before pouring in the batter, the edges climbed twice as high as any previous attempt and the bottom developed a flavor that was completely different from anything I had managed before. Max saw the result coming out of the oven and said "finally." He had apparently been waiting for that version for a while without saying anything. That is now the only way it gets made in this kitchen.
German Apple Pancakes FAQs
What are German apple pancakes called?
The German oven pancake is called Apfelpfannkuchen in German, which translates directly to apple pancake. The version baked in a cast iron skillet that puffs at the edges is also closely related to the Dutch baby pancake, which is the Americanized name for a similar oven-baked egg batter pancake. The Original Pancake House in the United States helped make the cast iron baked version with caramelized apples famous as a restaurant dish.
Why did my German apple pancake not puff up at the edges?
A cold pan is almost always the reason. The pan must be genuinely hot, with the butter already melted and just starting to brown, before the batter goes in so the edges begin setting and climbing immediately on contact with the hot surface. A skillet that has not been preheated produces a flat pancake that bakes through evenly without any edge climbing. Preheat the skillet in the 425°F oven for at least 10 minutes before using.
What is the difference between a German apple pancake and a Dutch baby?
The two are closely related and often used interchangeably, but a German apple pancake traditionally includes a caramelized apple and cinnamon layer cooked in the pan before the batter is added, while a Dutch baby typically has no filling inside the pan and relies on toppings added after baking. Both use a similar high-egg, low-flour batter and both bake in a preheated oven-safe skillet. The Original Pancake House version uses the caramelized apple inside the pan, which is what distinguishes it from a plain Dutch baby.
Before the Powdered Sugar Settles
Max carried the plate to the table while the powdered sugar was still drifting down over the apple slices and the caramelized edges were still warm enough to smell. He sat down, looked at it for a full three seconds, and said "we should have been making this every Sunday." He is completely right. We are making this every Sunday now.
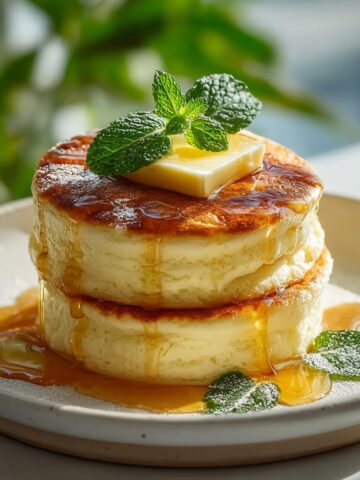
If you are building out a weekend breakfast collection that earns that kind of response, French Toast Cups are the recipe to reach for when you want individual servings that look as impressive as a full pan dish and take almost the same amount of effort. The Sweet Potato Breakfast Bowl brings a completely different flavor direction to the same warm, cozy breakfast energy and comes together in the same amount of time for a morning when you want something that feels nourishing and satisfying. And for the mornings when you want something light and protein-forward that still stacks beautifully on a plate, Lemon Ricotta Protein Pancakes are exactly what this kitchen makes when the occasion calls for something special.
Don't forget to snap a picture of your German Apple Pancakes before that first slice disappears (trust me, it will disappear quickly!), and leave a rating below. We'd love to hear how this recipe becomes part of your brunch story.
Star rate this recipe and join our baking family!
Related
Looking for other recipes like German Apple Pancakes? Try these:
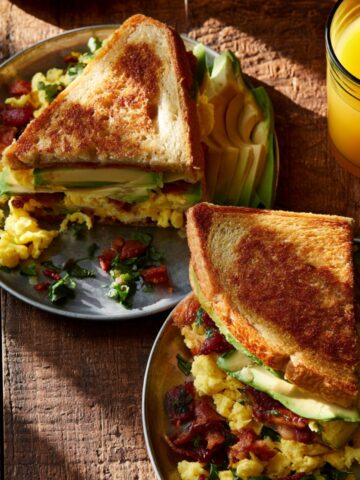
- Breakfast Club Sandwich20 Minutes
- Smashed Hash Browns with Garlic Herb Butter35 Minutes
- Sausage Egg and Cheese Breakfast Bakes42 Minutes
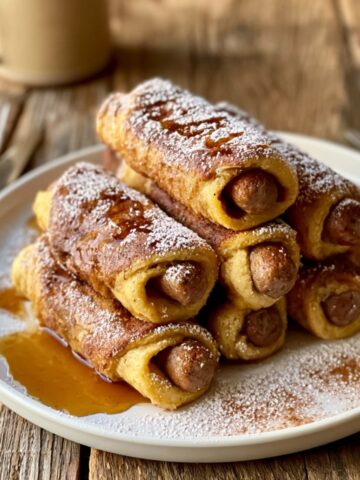
- Sausage French Toast Roll-Ups20 Minutes


German Apple Pancakes
Ingredients
Equipment
Method
- Preheat the oven to 425°F and place a 10-inch oven-safe cast iron skillet inside while it preheats so the pan is fully hot before the batter goes in.
- Whisk the eggs, whole milk, flour, granulated sugar, vanilla extract, and salt together in a medium bowl until completely smooth with no lumps, then let the batter rest for 5 minutes so the flour fully hydrates.
- Remove the hot skillet from the oven using oven mitts and place on the stovetop over medium heat, then add 2 tablespoons of butter and swirl to coat the entire surface including the sides.
- Add the thinly sliced apples to the buttered skillet, sprinkle with brown sugar and cinnamon, and cook for 3 to 4 minutes turning once until the apples are softened at the edges and the sugar has caramelized into a sticky glaze around each slice.
- Spread the caramelized apple slices evenly across the base of the skillet in a single layer so they are visible through the batter and on top of the finished pancake after inverting.
- Pour the rested batter slowly and evenly over the caramelized apple layer so it covers the apples completely and reaches to the edges of the pan in a uniform thickness.
- Transfer the skillet immediately to the preheated oven and bake for 18 to 22 minutes without opening the oven door during the first 15 minutes so the edges can puff and climb undisturbed.
- Remove the skillet when the edges are deep golden brown and the center looks set and firm rather than wet or jiggly when the pan is gently moved, then rest in the skillet for 2 to 3 minutes.
- Run a thin spatula around the inside edge of the skillet to loosen, then place a large serving plate face down over the skillet and invert both together in one confident motion so the apple side faces up on the plate.
- Dust generously with powdered sugar through a fine sifter over the apple slices, the caramelized edges, and the rim of the plate, then serve immediately while still warm.
Leave a Reply