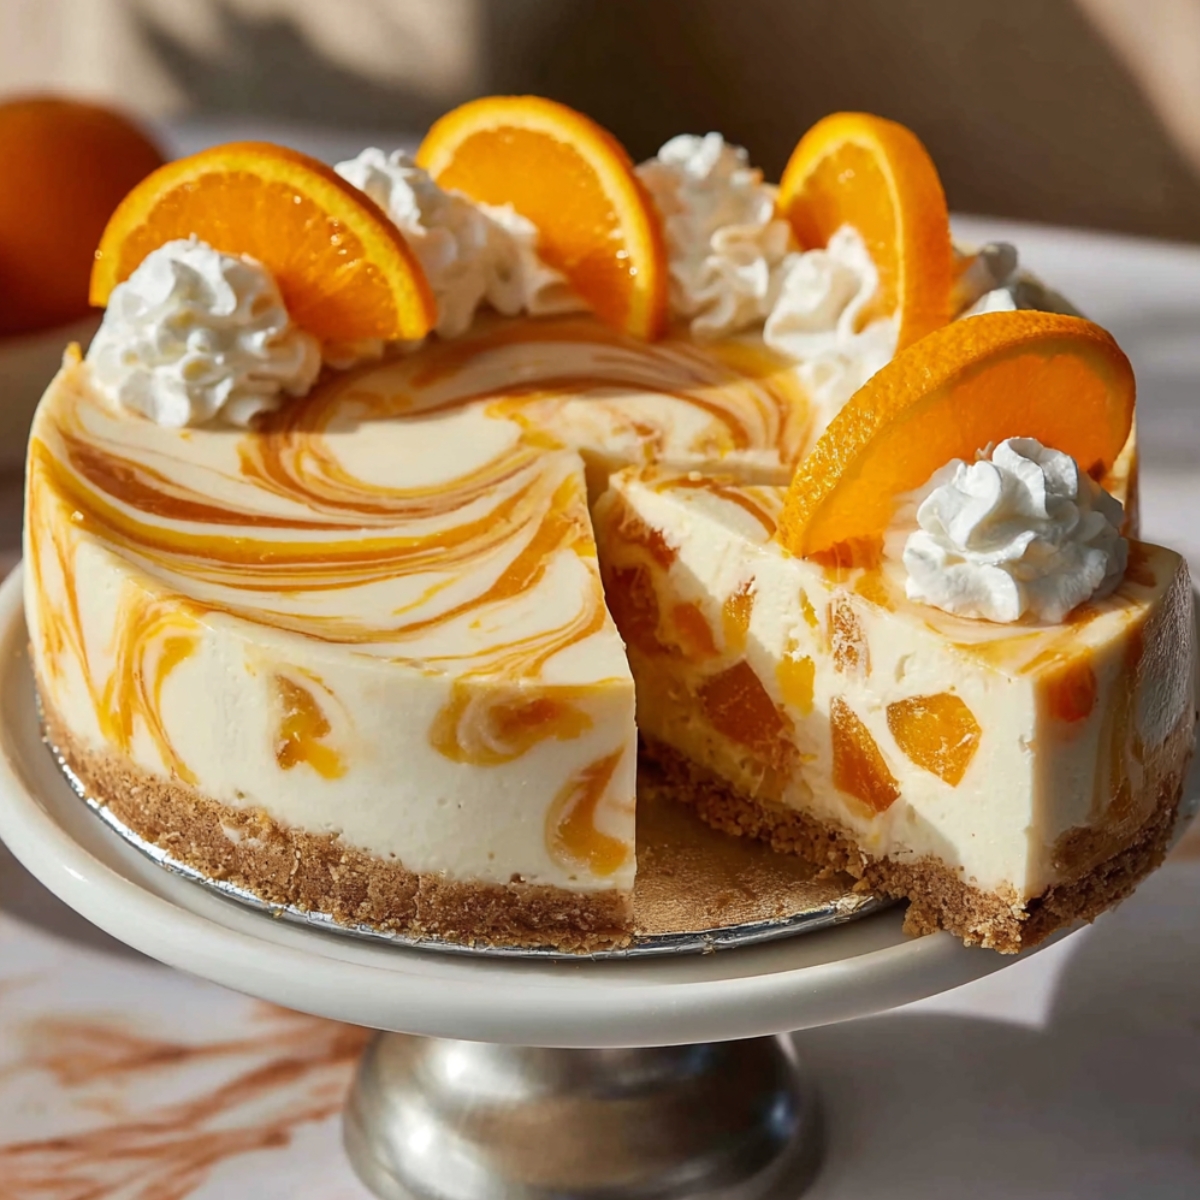
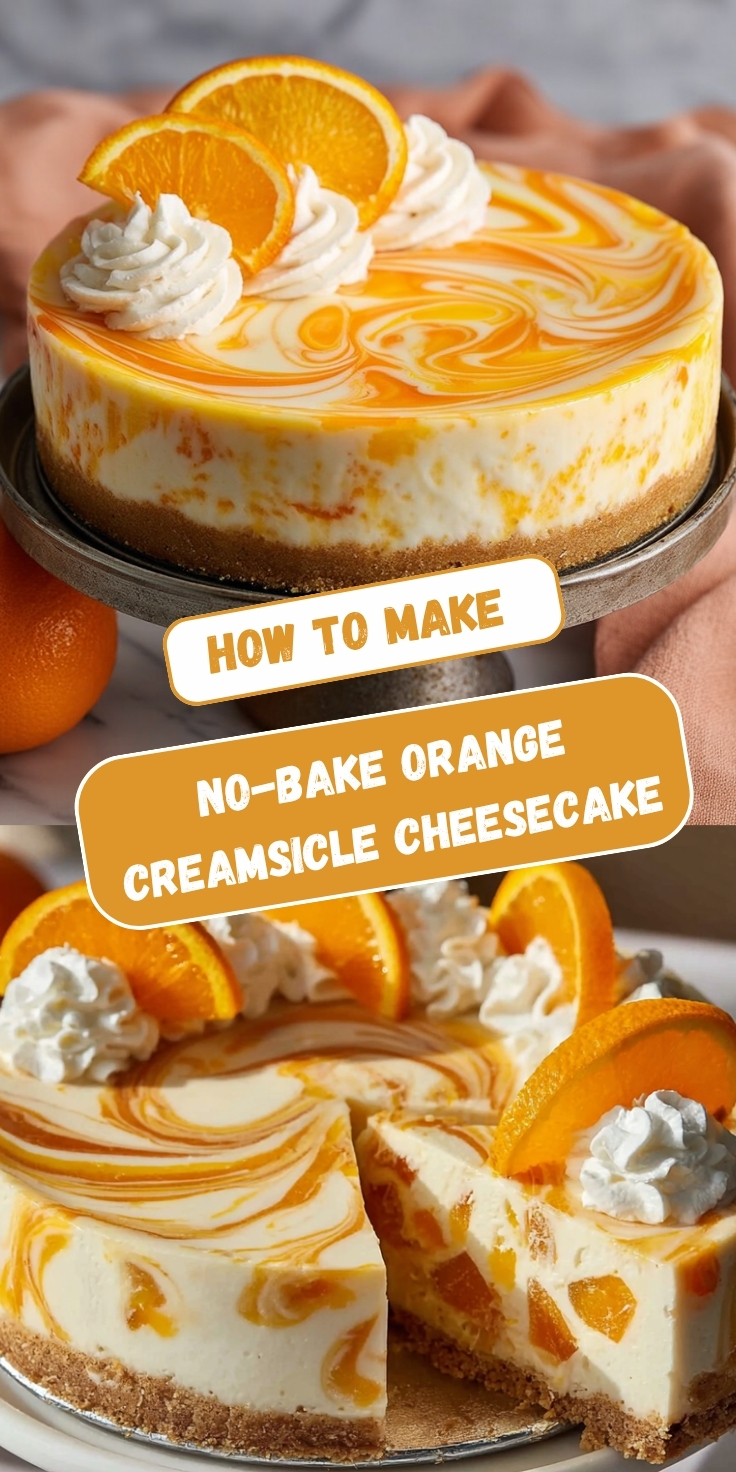
Max stood at the counter watching me swirl the orange curd into the cream cheese filling and said "that looks like a sunset." He was completely right. The moment the orange ribbons pull through the white filling in that marbled pattern, the whole thing becomes something you do not want to cover with plastic wrap. This No-Bake Orange Creamsicle Cheesecake takes everything nostalgic about a creamsicle and turns it into a dessert worth slicing slowly.
Jump to:
- Why This Recipe Is Special
- How To Make No-Bake Orange Creamsicle Cheesecake
- No-Bake Orange Creamsicle Cheesecake Variations
- Substitutions
- Equipment
- Storage Tips
- Family Secret Worth Sharing
- No-Bake Orange Creamsicle Cheesecake FAQs
- The Slice That Started a New Tradition
- Related
- No-Bake Orange Creamsicle Cheesecake
Why This Recipe Is Special
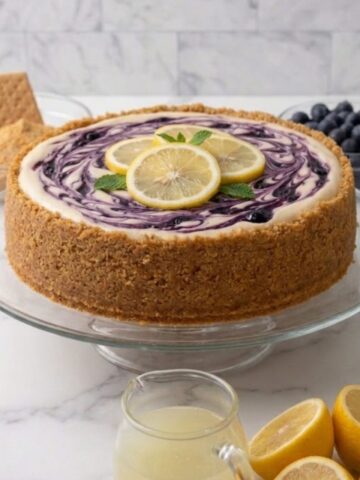
This cheesecake works because the no-bake filling is genuinely light and creamy rather than dense the way a baked cheesecake can be, and the orange swirl runs through every slice so no one gets a piece without it. The buttery graham cracker crust holds its shape cleanly when sliced, and the whipped cream rosettes and fresh orange slices on top make it look like it came from a bakery counter.
Max called it "the fanciest thing we have ever made" the first time we sliced it. That is the standard this recipe has to live up to every time now, and it has not missed once.
How To Make No-Bake Orange Creamsicle Cheesecake
The first attempt had a swirl that disappeared into the filling because I added the orange curd when the cream cheese mixture was still too warm from being worked with the mixer. The swirl sank and blended rather than staying as distinct ribbons on the surface. Max looked at the finished result and said it still tasted incredible but looked "more like a smoothie than a sunset."
Once I chilled the filling for fifteen minutes before adding the orange swirl on top, the curd stayed exactly where I placed it and the marbled pattern set cleanly into the surface during refrigeration. The image is achievable every single time with that one adjustment.
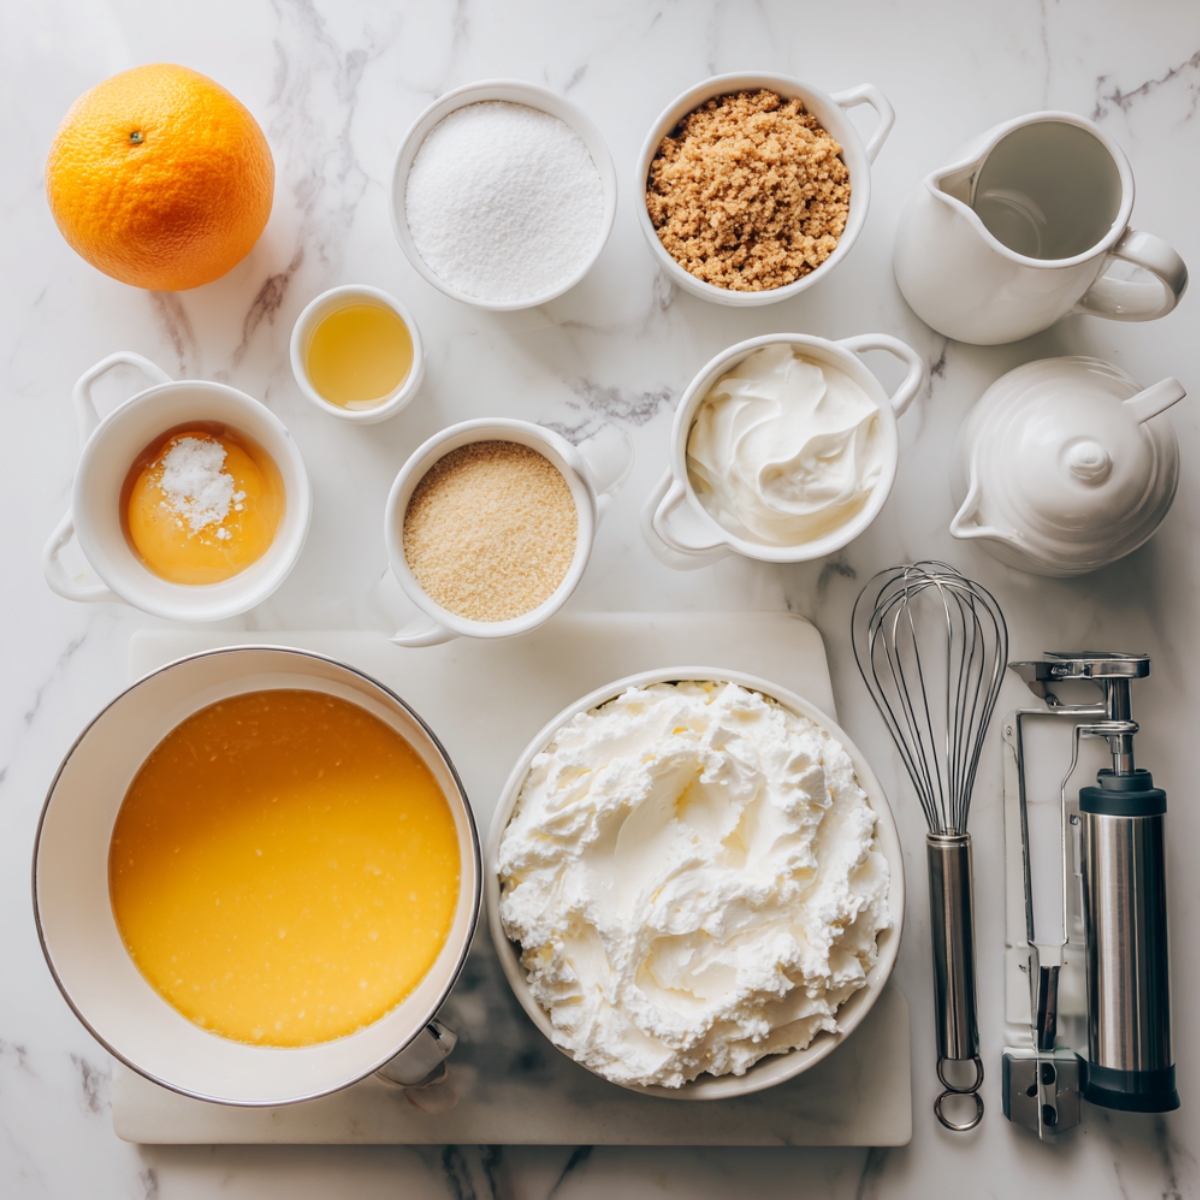
Main Ingredients
- 1.5 cups graham cracker crumbs — the golden, buttery base visible in the image; finely crushed for a tight, sliceable crust
- 6 tablespoon unsalted butter, melted — binds the crust so it holds together under the filling without crumbling when sliced
- 2 tablespoon granulated sugar — sweetens the crust just enough to balance the cream cheese filling above it
- 500g cream cheese (Philadelphia style), softened — the full-fat base of the filling; must be fully softened so the mixture comes out smooth and lump-free
- ½ cup powdered sugar — sweetens the filling without adding a gritty texture
- 1 teaspoon vanilla extract — adds warmth that balances the bright citrus flavor of the orange curd
- 1 cup heavy whipping cream, cold — whipped to stiff peaks and folded in to give the filling its light, mousse-like texture
- Zest of 1 large orange — stirred into the cream cheese filling to add a natural orange flavor throughout the white base
- ½ cup orange curd (store-bought or homemade) — the vivid orange element spooned over the filling and swirled into the marbled pattern visible on top of the cheesecake in the image
- Extra whipped cream for piping — the rosettes placed around the top of the cheesecake just before serving
- Fresh orange slices for garnish — fanned across the top of the cheesecake the way they appear in the image
Step-by-Step Instructions
Step 1 — Build the Graham Cracker Crust
- Combine the graham cracker crumbs, melted butter, and granulated sugar in a medium bowl and stir until the mixture resembles damp sand and holds its shape when pressed between two fingers
- Tip the crust mixture into a 9-inch springform pan and press it firmly and evenly across the base using the flat bottom of a measuring cup, building a slightly raised edge around the perimeter for clean slices
- Check that the crust thickness is uniform all the way across and that there are no thin spots near the center where the filling might press through
- Refrigerate the crust for 20 minutes until it feels firm and set when you press the center lightly with one finger before adding the filling
Step 2 — Make the Cream Cheese Filling
- Beat the softened cream cheese and powdered sugar together on medium speed until completely smooth with no visible lumps, scraping down the sides of the bowl once halfway through
- Add the vanilla extract and the fresh orange zest to the cream cheese mixture and beat for another 30 seconds until fully incorporated and the zest is evenly distributed throughout
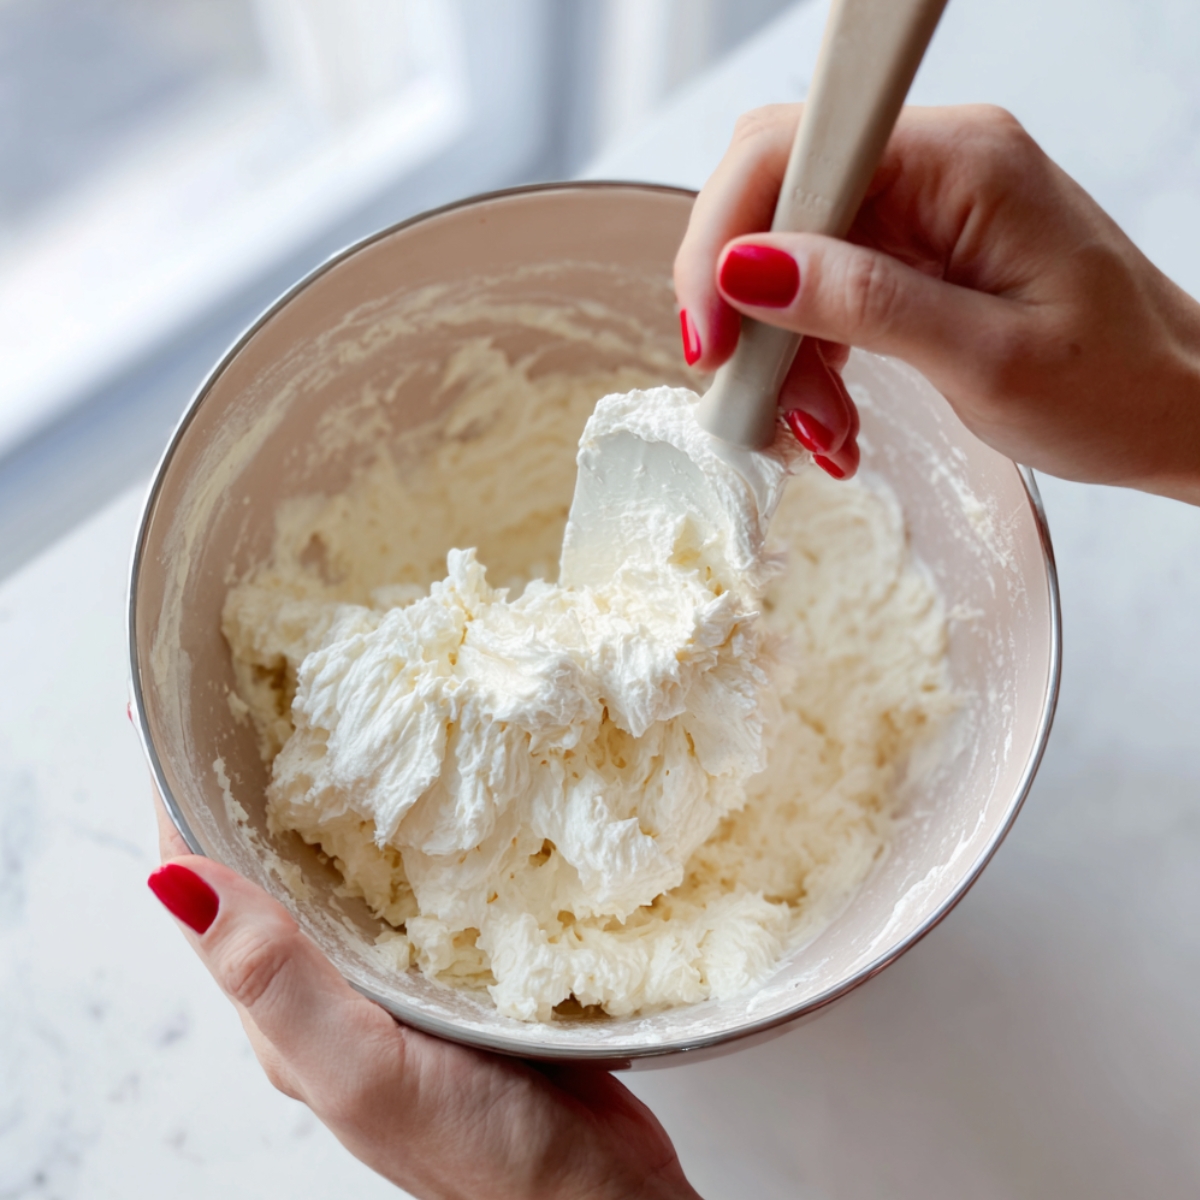
- In a separate chilled bowl, whip the cold heavy cream on medium-high speed until stiff peaks form and the cream holds its shape firmly when the beater is lifted straight up
- Fold the whipped cream into the cream cheese mixture in three additions using a wide rubber spatula, rotating from the bottom in slow strokes until the filling is smooth and streak-free with a light, mousse-like texture
Step 3 — Fill the Crust and Chill Before Swirling
- Remove the chilled crust from the refrigerator and pour the cream cheese filling into the pan, spreading it evenly with an offset spatula so the surface is completely level and smooth from edge to edge
- Tap the pan gently on the counter two or three times to release any air bubbles trapped under the surface of the filling
- Cover the pan loosely with plastic wrap and refrigerate for 15 minutes so the top layer of the filling firms up enough to hold the orange swirl on the surface rather than allowing it to sink into the filling
- Check the surface after 15 minutes by touching it lightly with a clean fingertip; it should feel slightly set and resistant rather than soft and liquid before you add the orange curd
Step 4 — Swirl, Set, and Garnish
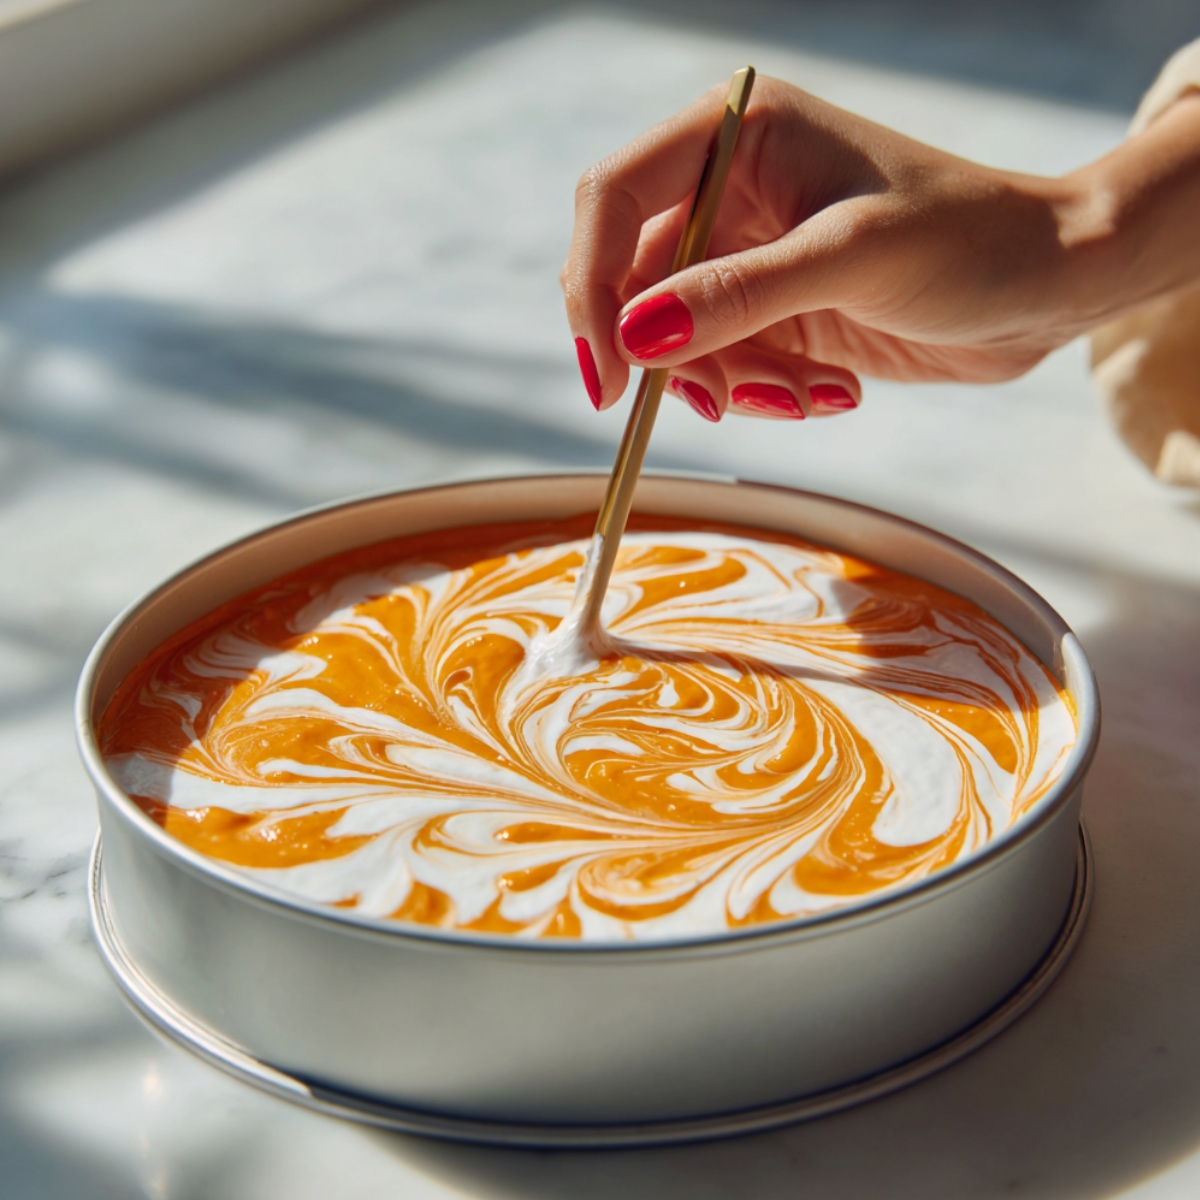
- Remove the pan from the refrigerator and spoon the orange curd over the surface of the chilled filling in random dollops placed roughly 1 inch apart so the swirl will reach across the entire surface when pulled
- Use a thin skewer, toothpick, or the tip of a butter knife to drag through the orange dollops in long, sweeping S-shaped strokes across the entire surface, creating the continuous marbled pattern visible in the image
- Cover the pan tightly with plastic wrap and refrigerate for at least 6 hours or overnight until the cheesecake is fully set and holds a clean, straight edge when the springform ring is released
- Just before serving, pipe whipped cream rosettes evenly spaced around the top edge of the cheesecake, lay the fresh orange slices fanned across the center, and serve the cheesecake cold directly from the refrigerator for the cleanest slices
No-Bake Orange Creamsicle Cheesecake Variations
Orange Creamsicle Cheesecake Pie with Jello
- Replace the orange curd swirl with a half-set orange jello mixture poured over the cream cheese filling before it fully sets so the jello and filling create a layered effect rather than a swirl
- Allow the jello to cool to room temperature before pouring so it does not melt the cream cheese filling when it makes contact with the surface
- The finished result has a firmer, more opaque orange top layer and slices very cleanly at the table
- This version is slightly faster to prepare since store-bought jello requires no cooking compared to a homemade orange curd
No-Bake Orange Dreamsicle Dessert Cups
- Divide the crust mixture between 10 individual serving cups pressing a thin layer into the base of each, then fill with the cream cheese mixture and add the orange swirl to each cup separately
- Individual cups skip the springform pan entirely and serve directly without unmolding, making them ideal for parties where slicing and plating is impractical
- Add a single piped rosette and a small orange zest curl to the top of each cup rather than the full orange slice arrangement
- Max considers individual cups a superior format because no one can argue over slice size
Orange Cheesecake with Coconut Crust
- Replace half the graham cracker crumbs with toasted desiccated coconut pressed into the base alongside the remaining crumbs and butter
- The coconut in the crust adds a faint tropical sweetness that pairs naturally with the orange filling and gives the base slightly more texture than a plain graham cracker crust
- Add ¼ teaspoon of coconut extract to the cream cheese filling alongside the vanilla for a more pronounced coconut flavor throughout the white layer
- Top with toasted coconut flakes around the edge of the cheesecake alongside the whipped cream rosettes for a finishing detail that signals the coconut flavor below
Substitutions
Graham cracker crust substitute: Digestive biscuits, vanilla wafer cookies, or gingersnap cookies all crush and press into a crust with the same technique and the same butter-to-crumb ratio. Gingersnaps add a warm spiced note that pairs especially well with the orange filling.
Cream cheese substitute: Mascarpone replaces cream cheese in equal quantity and produces a slightly richer, less tangy filling. The swirl stays as visible and the texture sets just as cleanly after refrigeration. Use full-fat mascarpone rather than a reduced-fat version for reliable results.
Orange curd substitute: A good quality store-bought orange marmalade warmed slightly and pushed through a fine strainer to remove the peel pieces creates a smooth, swirling orange jam that produces a similar color and flavor on the surface. Mango curd or passion fruit curd also swirl beautifully and create a vivid tropical color contrast against the white filling.
Heavy whipping cream substitute: Full-fat coconut cream chilled overnight and whipped to stiff peaks works as a dairy-free alternative and folds into the cream cheese filling with the same technique. The flavor adds a subtle coconut note that works naturally alongside the orange.
Equipment
- 9-inch springform pan
- Food processor or zip-lock bag and rolling pin for crushing the crackers
- Large mixing bowl
- Stand mixer or hand mixer
- Separate chilled bowl for whipping cream
- Wide rubber spatula for folding
- Offset spatula for smoothing the filling
- Thin skewer, toothpick, or butter knife for the swirl
- Piping bag and star tip for the whipped cream rosettes
- Plastic wrap
Storage Tips
Make Ahead Strategy
- This cheesecake is at its absolute best made 24 hours ahead since the overnight rest allows the filling to set completely and the swirl to settle into a defined, sharp marble pattern
- Prepare through the swirling step, cover tightly, and refrigerate overnight before adding the garnishes
- Pipe the whipped cream rosettes and place the orange slices on top only in the hour before serving so the cream stays fresh and the orange does not dry out
Refrigeration
- Store the cheesecake covered with a cake dome or loosely tented plastic wrap in the refrigerator for up to 4 days
- The filling texture actually improves slightly between day one and day two as the layers settle and the orange flavor deepens throughout the filling
- Keep the cheesecake away from strong-smelling foods in the refrigerator since the cream cheese filling absorbs surrounding odors easily
Freezing
- Freeze the cheesecake without any fresh garnishes by wrapping the whole pan tightly in a layer of plastic wrap followed by a layer of foil
- Stores well in the freezer for up to 6 weeks without significant change to the filling texture or swirl pattern
- Thaw overnight in the refrigerator rather than at room temperature and add the whipped cream rosettes and fresh orange slices immediately before serving after thawing
Family Secret Worth Sharing
The swirl technique on this cheesecake came from an afternoon I spent watching my mother decorate a tray of cookies with two different colored icings. She never used a toothpick in short back-and-forth motions the way most recipes suggest. She always pulled in one long, continuous sweeping stroke from one side of the tray to the other and then turned the tray and repeated it from the opposite direction. The result was always a fluid, natural-looking marble rather than a tight geometric pattern. I applied exactly that approach to this cheesecake and the surface came out looking the way it does in the image without any second guessing. Max watched me do it, nodded slowly, and said "that's actually really satisfying." He asked to do the swirl himself on the second batch. His turned out even better than mine, which I told him while pretending it did not bother me at all.
No-Bake Orange Creamsicle Cheesecake FAQs
Why did my orange swirl sink into the filling instead of staying on the surface?
The filling was not chilled long enough before the curd was added. The surface of the cream cheese mixture needs 15 minutes in the refrigerator to firm up slightly before the orange curd will sit on top rather than sinking through. If your swirl still sinks after chilling, add the curd in smaller amounts and work more gently across the surface without pressing the skewer too deeply into the filling.
How do I get clean slices without the filling dragging and smearing?
Use a long sharp knife dipped in hot water and wiped completely dry between each cut. The warm blade glides through the cold cream cheese filling without pulling the swirl or dragging the crust. Cutting straight down with one firm motion rather than sawing also keeps the orange marbling intact on each slice face the way it appears in the image.
Can I make this no-bake orange creamsicle cheesecake without gelatin?
This recipe does not use gelatin because the whipped cream folded into the cream cheese filling provides enough structure for the cheesecake to hold its shape when refrigerated overnight. If you are in a warmer environment or plan to leave the cheesecake at room temperature for more than 30 minutes before serving, dissolving 1 teaspoon of gelatin in 2 tablespoons of warm water and stirring it into the cream cheese mixture before folding in the whipped cream will give the cheesecake a firmer hold.
The Slice That Started a New Tradition
Max carried the cheesecake stand to the table himself, set it down in the center, and stood back to look at it. The swirl was exactly right. The orange slices were fanned across the top and the whipped cream rosettes were holding their shape from the piping bag. He looked at it for a long moment and then said "we should make this for every birthday from now on." That is how a recipe becomes a tradition. One very good slice at a time.
If you are building a dessert table that looks as beautiful as it tastes, Bavarian Cream with Berries brings an elegant, classic European contrast that sits naturally alongside a no-bake cheesecake at any gathering. Dragon Fruit Cheesecake brings that same stunning visual impact from a completely different color palette and is the recipe this kitchen reaches for when the occasion calls for something that genuinely surprises people. And when you want something a little more casual and nostalgic on the same table, Salted Caramel Brown Sugar Pop Tart Cookie Bar is the kind of dessert that disappears before everything else and earns the loudest reaction of the afternoon.
Don't forget to snap a picture of your No-Bake Orange Creamsicle Cheesecake before that first slice disappears (trust me, it will disappear quickly!), and leave a rating below. We'd love to hear how this recipe becomes part of your baking story.
Star rate this recipe and join our baking family!
Related
Looking for other recipes like No-Bake Orange Creamsicle Cheesecake? Try these:
- Cheesy Garlic Cruffin40 Minutes
- Chewy Whimsical Peach Cookies52 Minutes
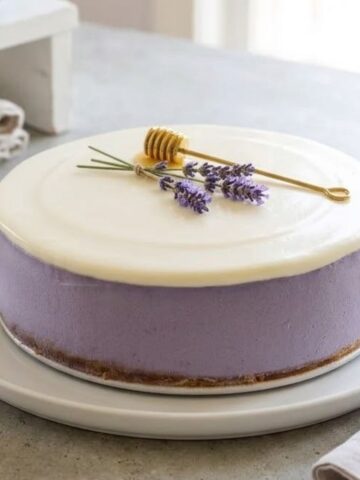
- Honey Lavender Cheesecake6 Hours 25 Minutes
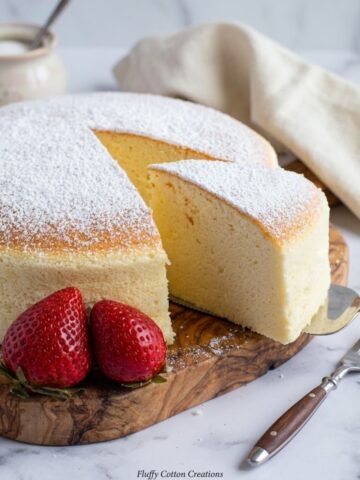
- Fluffy Japanese Cheesecake1 Hours 40 Minutes


No-Bake Orange Creamsicle Cheesecake
Ingredients
Equipment
Method
- Combine the graham cracker crumbs, melted butter, and granulated sugar in a medium bowl and stir until the mixture resembles damp sand and holds its shape when pressed between two fingers.
- Press the crust mixture firmly and evenly into the base of a 9-inch springform pan using the flat bottom of a measuring cup, building a slightly raised edge around the perimeter for clean slices.
- Refrigerate the crust for 20 minutes until it feels firm when you press the center lightly with one finger before adding the filling.
- Beat the softened cream cheese and powdered sugar together on medium speed until completely smooth with no visible lumps, scraping down the sides of the bowl once halfway through.
- Add the vanilla extract and orange zest and beat for 30 more seconds until fully incorporated and the zest is evenly distributed throughout the filling.
- Whip the cold heavy cream in a chilled bowl on medium-high speed until stiff peaks form and the cream holds its shape firmly when the beater is lifted.
- Fold the whipped cream into the cream cheese mixture in three additions using a wide rubber spatula in slow strokes from the bottom until smooth, streak-free, and light in texture.
- Pour the filling into the chilled crust, spread level with an offset spatula, tap the pan on the counter twice to release air bubbles, then refrigerate for 15 minutes until the surface is slightly firm to the touch.
- Spoon the orange curd over the chilled filling surface in random dollops placed roughly 1 inch apart so the swirl will reach across the entire top when pulled.
- Drag a thin skewer or butter knife through the orange dollops in long continuous sweeping S-shaped strokes across the entire surface to create the fluid marbled pattern visible in the image.
- Cover the pan tightly with plastic wrap and refrigerate for at least 6 hours or overnight until fully set and the cheesecake holds a clean straight edge when the springform ring is released.
- Release the springform ring, pipe whipped cream rosettes evenly spaced around the top edge, fan the fresh orange slices across the center, and serve cold for the cleanest slices.

Leave a Reply