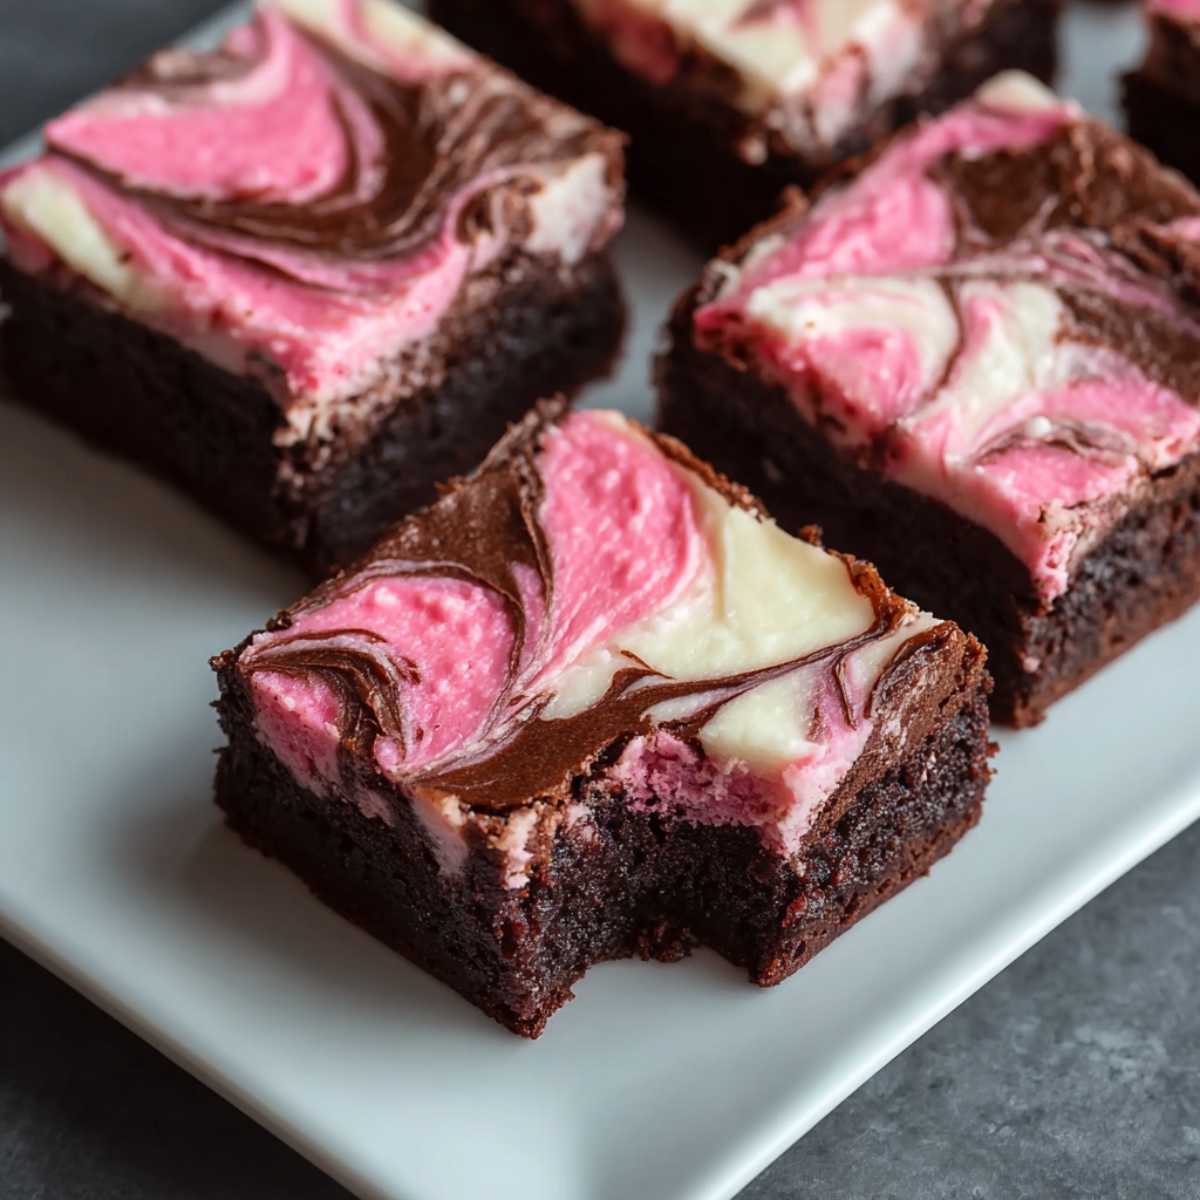
Whenever the kitchen starts smelling like melting chocolate, Max is usually right behind me with his favorite mixing spoon; and today’s Cheesecake Brownies are exactly what he’s been waiting for. These decadent bars combine a fudgy chocolate base with a silky, pink-swirled cream cheese top that looks just as good as it tastes. It is our favorite way to turn a simple afternoon into a special dessert celebration.
Jump to:
- Why You Will Love This Cheesecake Brownies
- How To Make Cheesecake Brownies
- What Pairs Well With Cheesecake Brownies
- Cheesecake Brownies Variations
- Equipment
- Storage / Make Ahead / Serving Tips
- Top Tips for Best Cheesecake Brownies
- Cheesecake Brownies Frequently Asked Questions
- A Sweet Weekend Tradition
- Related
- Easy Cheesecake Brownies
Why You Will Love This Cheesecake Brownies
These bars offer the perfect contrast between dense, dark chocolate and tangy, light cheesecake; plus the vibrant pink swirl makes them a stunning addition to any holiday platter. They are incredibly easy to slice into neat squares, making them a go-to for school bake sales or family gatherings.
How To Make Cheesecake Brownies
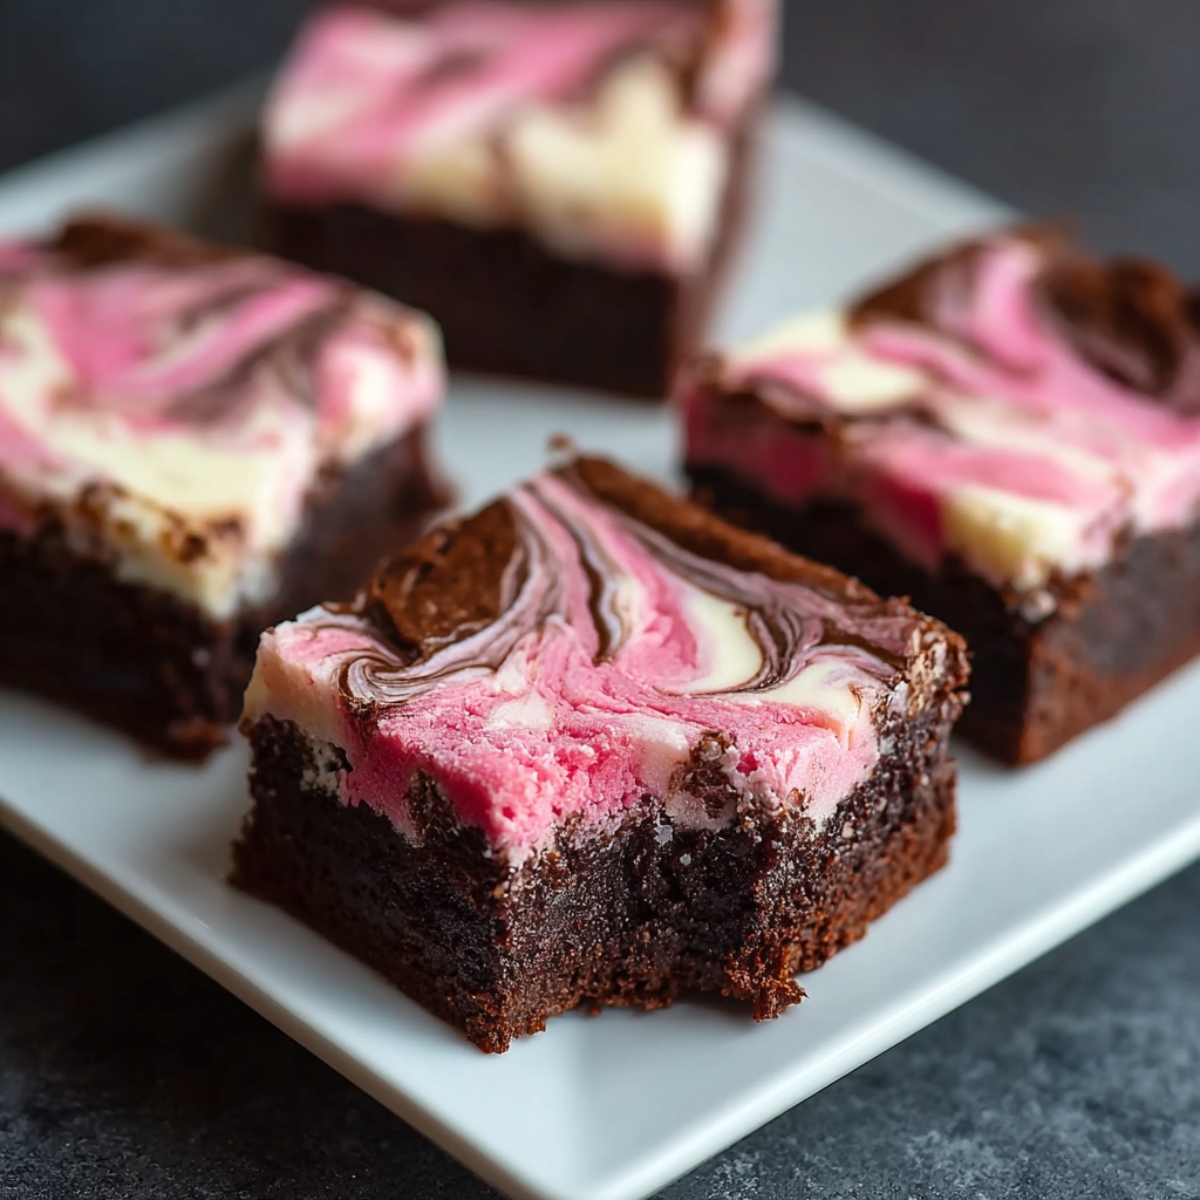
This recipe features a rich, cocoa-heavy brownie layer topped with a sweetened Philadelphia-style cream cheese mixture that is marbled with a touch of pink for a beautiful finish. Originally inspired by classic marble cake, this dessert has become a staple because it satisfies both cheesecake lovers and chocolate addicts in every single bite.
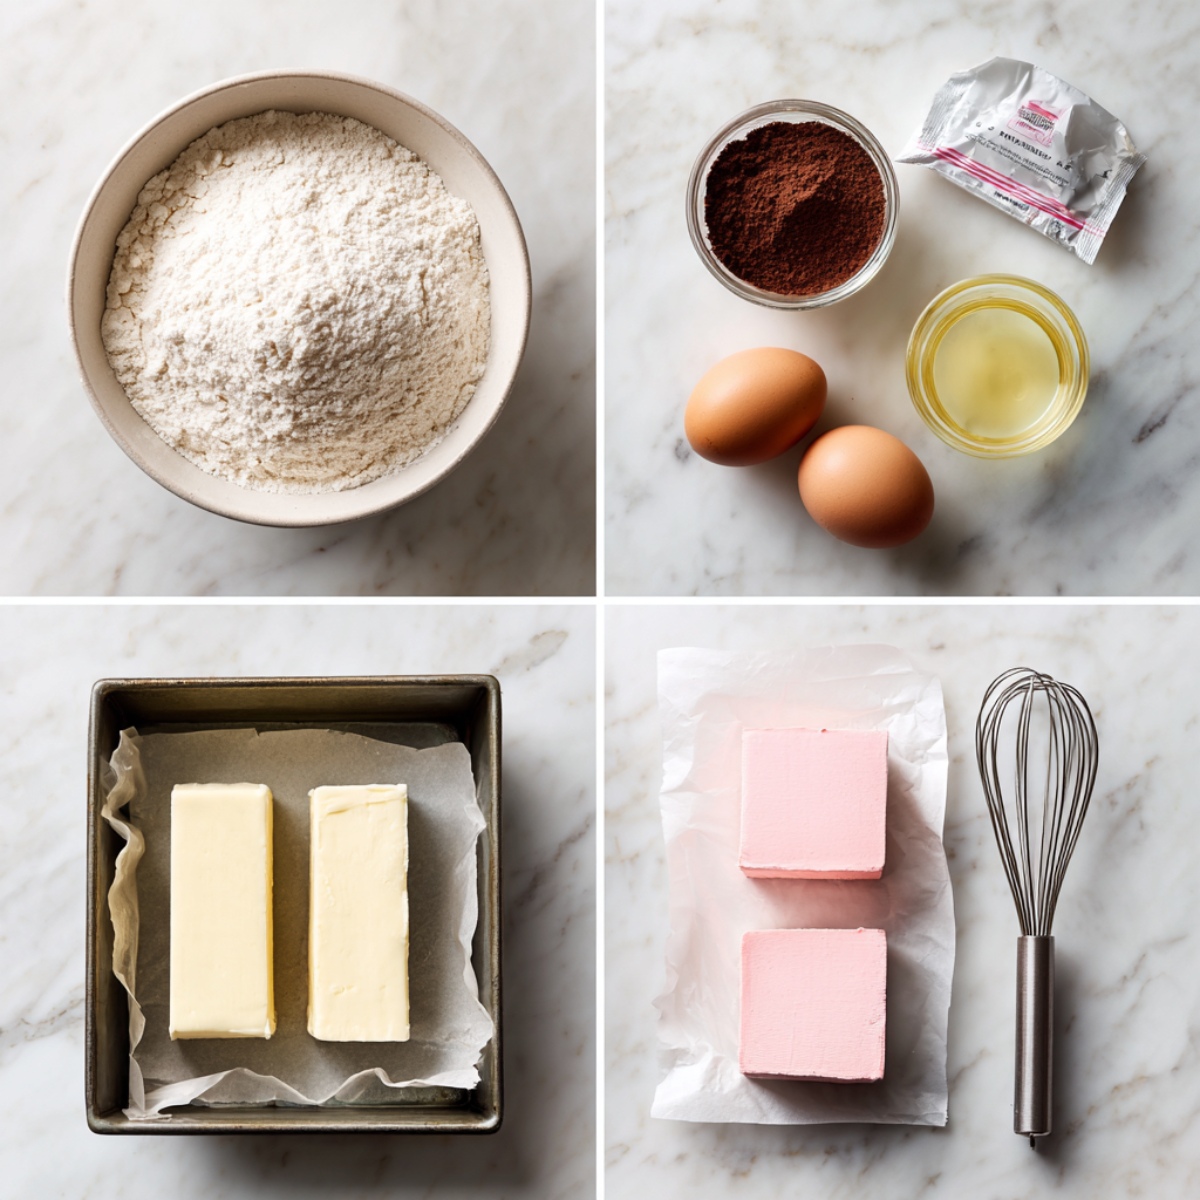
Cheesecake Brownies Ingredients
- ½ cup unsalted butter, melted
- 1 cup granulated sugar
- 2 large eggs
- 1 teaspoon vanilla extract
- ⅓ cup unsweetened cocoa powder
- ½ cup all-purpose flour
- 8 ounces cream cheese, softened
- ⅓ cup granulated sugar (for cheesecake layer)
- 1 large egg (for cheesecake layer)
- 2 drops pink or red food coloring
Step by Step Method
Prepare the brownie base
- Whisk the melted butter, sugar, two eggs, and vanilla in a bowl until the mixture is smooth and glossy.
Fold in dry ingredients
- Gently stir in the cocoa powder and flour until no streaks remain to ensure a fudgy texture.
Spread the chocolate layer
- Pour the brownie batter into a lined square baking pan, reserving two tablespoons for the final swirl.
Whip the cheesecake topping
- Beat the softened cream cheese with sugar and one egg until the consistency is light and airy.
Add the pink tint
- Stir the food coloring into the cheesecake mixture until you achieve a soft, vibrant pink hue.
Layer and marble
- Drop spoonfuls of the pink cheesecake over the brownie batter and use a knife to swirl them together.
Bake until set
- Place in a 350 degree oven for twenty-five minutes until the edges are firm and the center slightly wobbles.
Cool and slice
- Allow the pan to cool completely on a wire rack before cutting into even squares for the best appearance.
MAX’S REACTION
"Mom, the pink swirls look like little clouds! The bottom part is so chocolatey that I definitely need a big glass of milk with this one!"
What Pairs Well With Cheesecake Brownies
I find that a cold glass of milk is the classic choice for Max, while I prefer a hot cup of black coffee to balance the sweetness. If you want to go all out, a scoop of vanilla bean ice cream or a handful of fresh raspberries on the side adds a lovely fresh element.
Cheesecake Brownies Variations
Cheesecake Brownies Red Velvet
Swap the standard cocoa brownie for a red velvet base to create a deep crimson contrast against the white and pink swirls.
Cheesecake Brownies Easy Box Mix
Use a standard fudge brownie box mix for the base to save time, then simply add the homemade cream cheese topping on top.
Brownie Cheesecake Bars with Fruit
Gently fold half a cup of fresh raspberries or strawberry jam into the cheesecake layer before swirling for a fruity burst.
Chocolate Cheesecake Bars with Nuts
Sprinkle a handful of crushed walnuts or pecans over the chocolate layer before adding the cheesecake for a crunchy texture.
Equipment
- 8x8 inch square baking pan
- Electric hand mixer
- Large mixing bowls
- Parchment paper
Mom Tip: Always use room temperature cream cheese; if it is too cold, you will end up with tiny white lumps in your beautiful pink swirls!
Storage / Make Ahead / Serving Tips
Storage Tips That Keep It Fresh
Store these brownies in an airtight container in the refrigerator for up to five days. Because of the dairy in the cheesecake layer, they should not be left on the counter for more than two hours.
Make Ahead Strategy
You can bake these a full day in advance, as the flavors actually deepen and the texture becomes fudgier after a night in the fridge. This makes them perfect for stress-free party planning.
Reheating Instructions
While these are best served cold or at room temperature, you can warm a single square in the microwave for ten seconds if you prefer a softer bite. Avoid overheating, or the cheesecake layer may lose its shape.
Top Tips for Best Cheesecake Brownies
The secret to getting that perfect "picture-perfect" marble finish is to not over-swirl the batter; just a few light strokes with a butter knife are all you need to keep the colors distinct. I always tell Max that less is more when it comes to the swirls, or we will just end up with a solid light-brown top! Make sure you line your pan with parchment paper that hangs over the edges, which allows you to lift the entire block out for clean, sharp cuts once they are chilled. If you cut them while they are still warm, the layers will smear and lose that beautiful definition.
Cheesecake Brownies Frequently Asked Questions
Can I freeze these brownies?
Yes, you can freeze them for up to three months; just wrap them tightly in plastic wrap and foil to prevent freezer burn.
Why did my cheesecake layer crack?
This usually happens from overbaking or cooling too quickly; try turning the oven off and cracking the door for the last few minutes.
Can I use low-fat cream cheese?
I recommend using full-fat Philadelphia cream cheese for the best richness and a creamy, non-grainy texture.
A Sweet Weekend Tradition
Baking these colorful treats with Max has become one of our favorite ways to spend a rainy Saturday afternoon. If you love this flavor combination, you should also try our Reese’s Cheesecake Cookie Delight or the strikingly beautiful Red Velvet Cheesecake Brownies for your next party. For an even bolder dessert, our Black Velvet Cake with Blackberry is a showstopper that everyone always asks for.
Share your Cheesecake Brownies! Tag us @HannahCooking with #CheesecakeBrownies; we’re dying to see your version and hear about your homemade kitchen stories!
⭐️ Rate this Cheesecake Brownies recipe and let us know what twists or ingredients you used!
Related
Looking for other recipes like Cheesecake Brownies? Try these:
- Spicy Chili Garlic Deviled Eggs25 Minutes
- Cheesy Garlic Cruffin40 Minutes
- Pineapple Kiwi Salad17 Minutes
- Mango Pancakes55 Minutes

Easy Cheesecake Brownies
Ingredients
Equipment
Method
- Combine melted butter, 1 cup of sugar, vanilla, and 2 eggs in a large bowl until glossy.
- Sift in the cocoa and flour, stirring gently until the dry ingredients are fully incorporated.
- Pour the chocolate batter into a lined 8x8 pan, keeping two tablespoons back for swirling.
- Beat the cream cheese, remaining sugar, and 1 egg together until the mixture is perfectly smooth.
- Mix food coloring into the cheese batter until you reach a bright, even pink color.
- Dollop the pink mixture over the brownies and use a knife to create marbled patterns.
- Bake at 350°F for 25 minutes until the edges are firm but the center stays soft.
- Cool the pan on a rack then refrigerate for two hours to ensure clean cuts.

Leave a Reply